

Documentation · Revolutionary Forms 0.12.6
Revolutionary Forms, from first field to first booking.
How to build a form, send notifications, embed it, manage entries, and turn any form into a meeting scheduler that can book into Outlook.
Released version 0.12.4
Current release setup and checks
Build forms, review entries and book meetings through the Microsoft 365 integration.
- Conditional fields show and hide as visitors type and are excluded from submission when hidden.
- New uploaded files use protected storage and an authorized entry download. Older uploads retain their original public URLs and require separate review.
- Use Conditional logic in each field inspector to show or hide fields. Entry details include the notification trail and Resend controls.
Check your setup
- Build a form with a harmless test entry and verify notifications and the saved entry.
- Test conditional required fields, attachment permissions and the submit button on a phone.
Quick start
Up and running in minutes
Step 1
Install and activate
Upload the plugin zip under Plugins, Add New, Upload Plugin, and activate. Forms appears under Revolutionary Plugins.
Step 2
Create a form
Forms, Add New creates a form and opens the builder. Drag in fields, then set notifications and the confirmation.
Step 3
Embed it
Copy the shortcode from the Forms list into a page, or use the Form widget in Revolutionary Blocks.
Step 4
Test a submission
Fill in the form on your site, then check the email and the new row in Entries.
On this page
Start here
Getting started
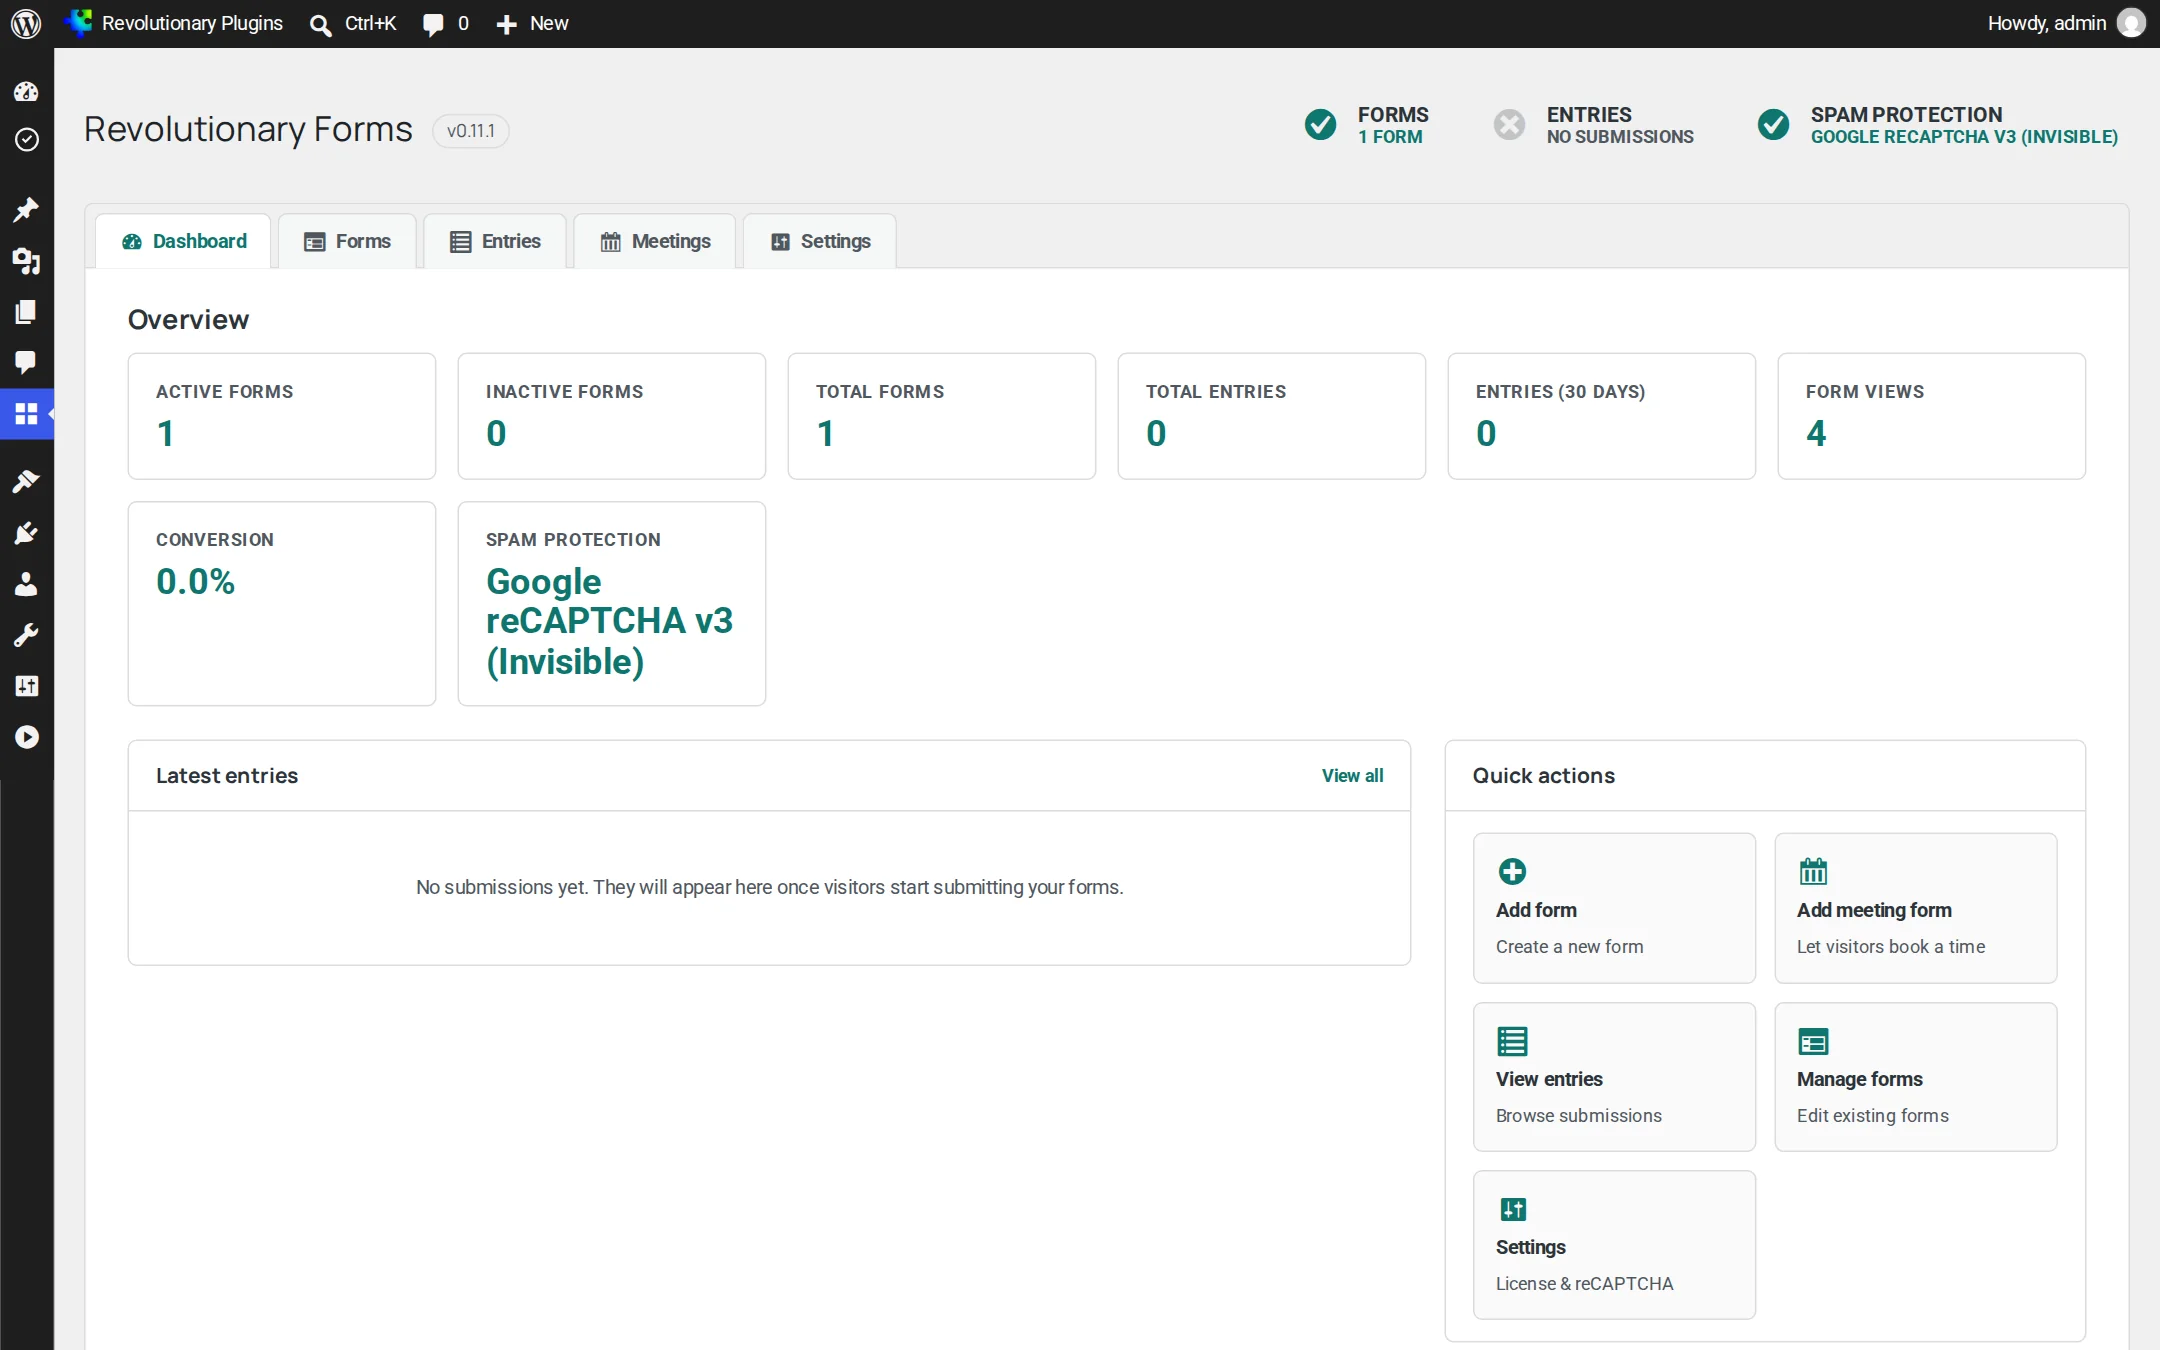
Everything is under Revolutionary Plugins, Forms. Only Forms shows in the sidebar; the Dashboard, Forms, Entries, Meetings and Settings screens are on the tab bar at the top.
License and updates
Updates come from the Revolutionary update server under your Revolutionary license. Enter the license key once in Multipurpose Dashboard, Welcome. If no license is found you see a notice, and your forms keep working.
The dashboard
Counts of active, inactive and total forms, total entries, entries in the last 30 days, form views and conversion, whether spam protection is on, the latest entries, and quick actions to add a form, add a meeting form or view entries.
The Forms list
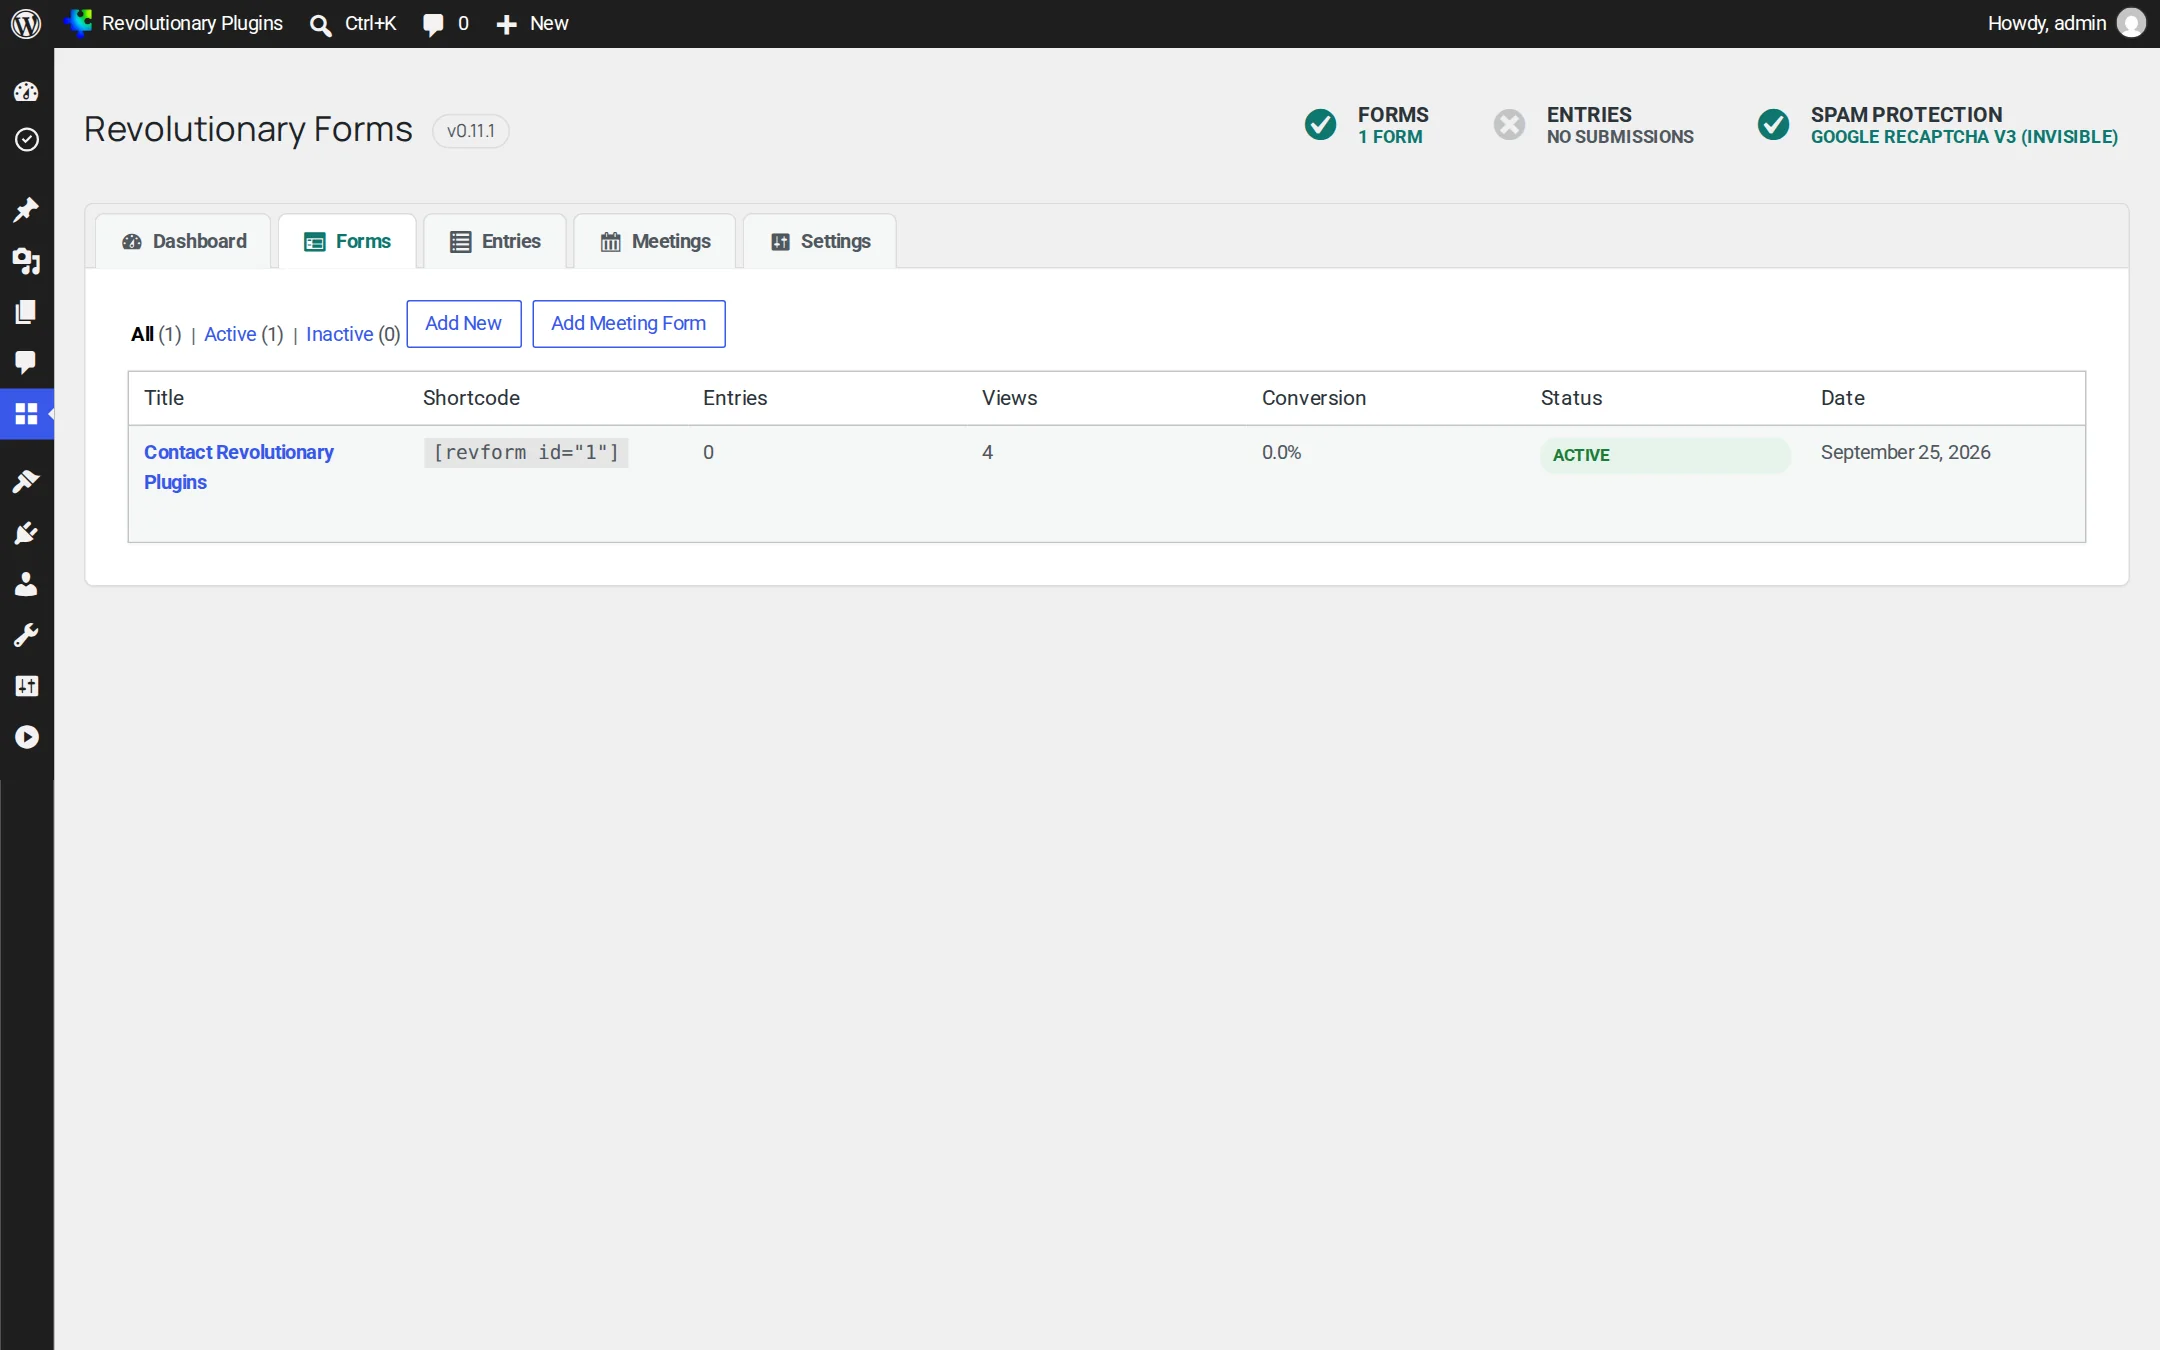
Every form with its shortcode, ready to copy. Open a form to edit it in the builder.
Builder
Building a form
The builder has four tabs: Fields, Settings, Notifications and Confirmations. Click Save Form to keep your changes.
- 1. Drag a field from the palette onto the canvas, or drag fields to reorder them.
- 2. Click a field to open the inspector. Set its label, placeholder, choices and whether it is required.
- 3. Repeat until the form is complete, then click Save Form.
Field types
| Group | Fields |
|---|---|
| Standard | Single Line Text, Paragraph Text, Dropdown, Radio Buttons, Checkboxes, Number, Hidden (with a default value) |
| Advanced | Name, Email, Phone, Address, Website, Date, Time, File Upload, Question and Answer |
| Layout | HTML Block, Section Break |
| Scheduling | Meeting Booking |
Question and Answer
One field that holds a list of questions. Give each question its own answer type (single line, paragraph, dropdown, radio buttons or checkboxes), and turn numbering on or off.
The Settings tab
- Show the form's title and description on the page
- Submit with AJAX, so the page does not reload
- Submit button text
- Form status: Active or Inactive
- Topic chooser (see below)
After submit
Notifications and confirmations
Notifications are emails sent when a form is submitted. The confirmation is what the visitor sees.
Notifications
Click Add Notification for each email you want, and set its To, Subject and Message. Click User Confirmation to add an email that goes to the address the visitor entered (add an Email field first).
Merge tags
| Tag | Inserts |
|---|---|
{all_fields} | Every field and its answer |
{field:ID} | One field's answer |
{form_title} | The form's name |
{entry_id} | The entry number |
{date} | When it was submitted |
{topic} | The chosen topic |
{ip} | The visitor's IP address |
{admin_email}, {site_url} | Your site's admin email and address |
Confirmations
Choose Message to replace the form with your thank-you text, or Redirect to send the visitor to a URL.
Links
Prefill links and topics
Send people to a form that is already partly filled in.
Prefill from the link
Add ?rf_ plus a field's ID and a value to the page address, for example ?rf_3=Pro%20plan. For a cleaner link, set a friendly parameter name on the field in the inspector and use that instead.
Topic chooser
Off by default. Turn it on in the form's Settings tab to show a row of topic buttons above the form. Each topic has its own intro text and message starter, and the chosen topic is saved with the entry and available as {topic}. Link straight to a topic with ?topic= and its key.
Scheduling
Meeting booking
Add the Meeting Booking field to a form, or use Add meeting form on the dashboard to start from a ready-made booking form.
Availability settings
| Setting | Default |
|---|---|
| Meeting name | Intro call |
| Duration | 30 minutes |
| Weekly hours | Monday to Friday, 9:00 to 17:00 |
| Buffer between meetings | 0 minutes |
| Minimum notice | 4 hours |
| Booking window | 60 days ahead |
| Capacity per slot | 1 |
| Blocked dates | None |
What the visitor sees
A month calendar and available time slots in their own time zone. The slot is held while they finish the form, so nobody else can take it.
After booking
Both sides can get emails with an .ics calendar invite. The invitee gets a cancel link, and a cancellation emails both sides. Use meeting merge tags such as {meeting_summary}, {meeting_date}, {meeting_time}, {meeting_timezone}, {meeting_cancel_url}, {meeting_calendar_links} and {meeting_join_url} in your notifications.
The Meetings screen
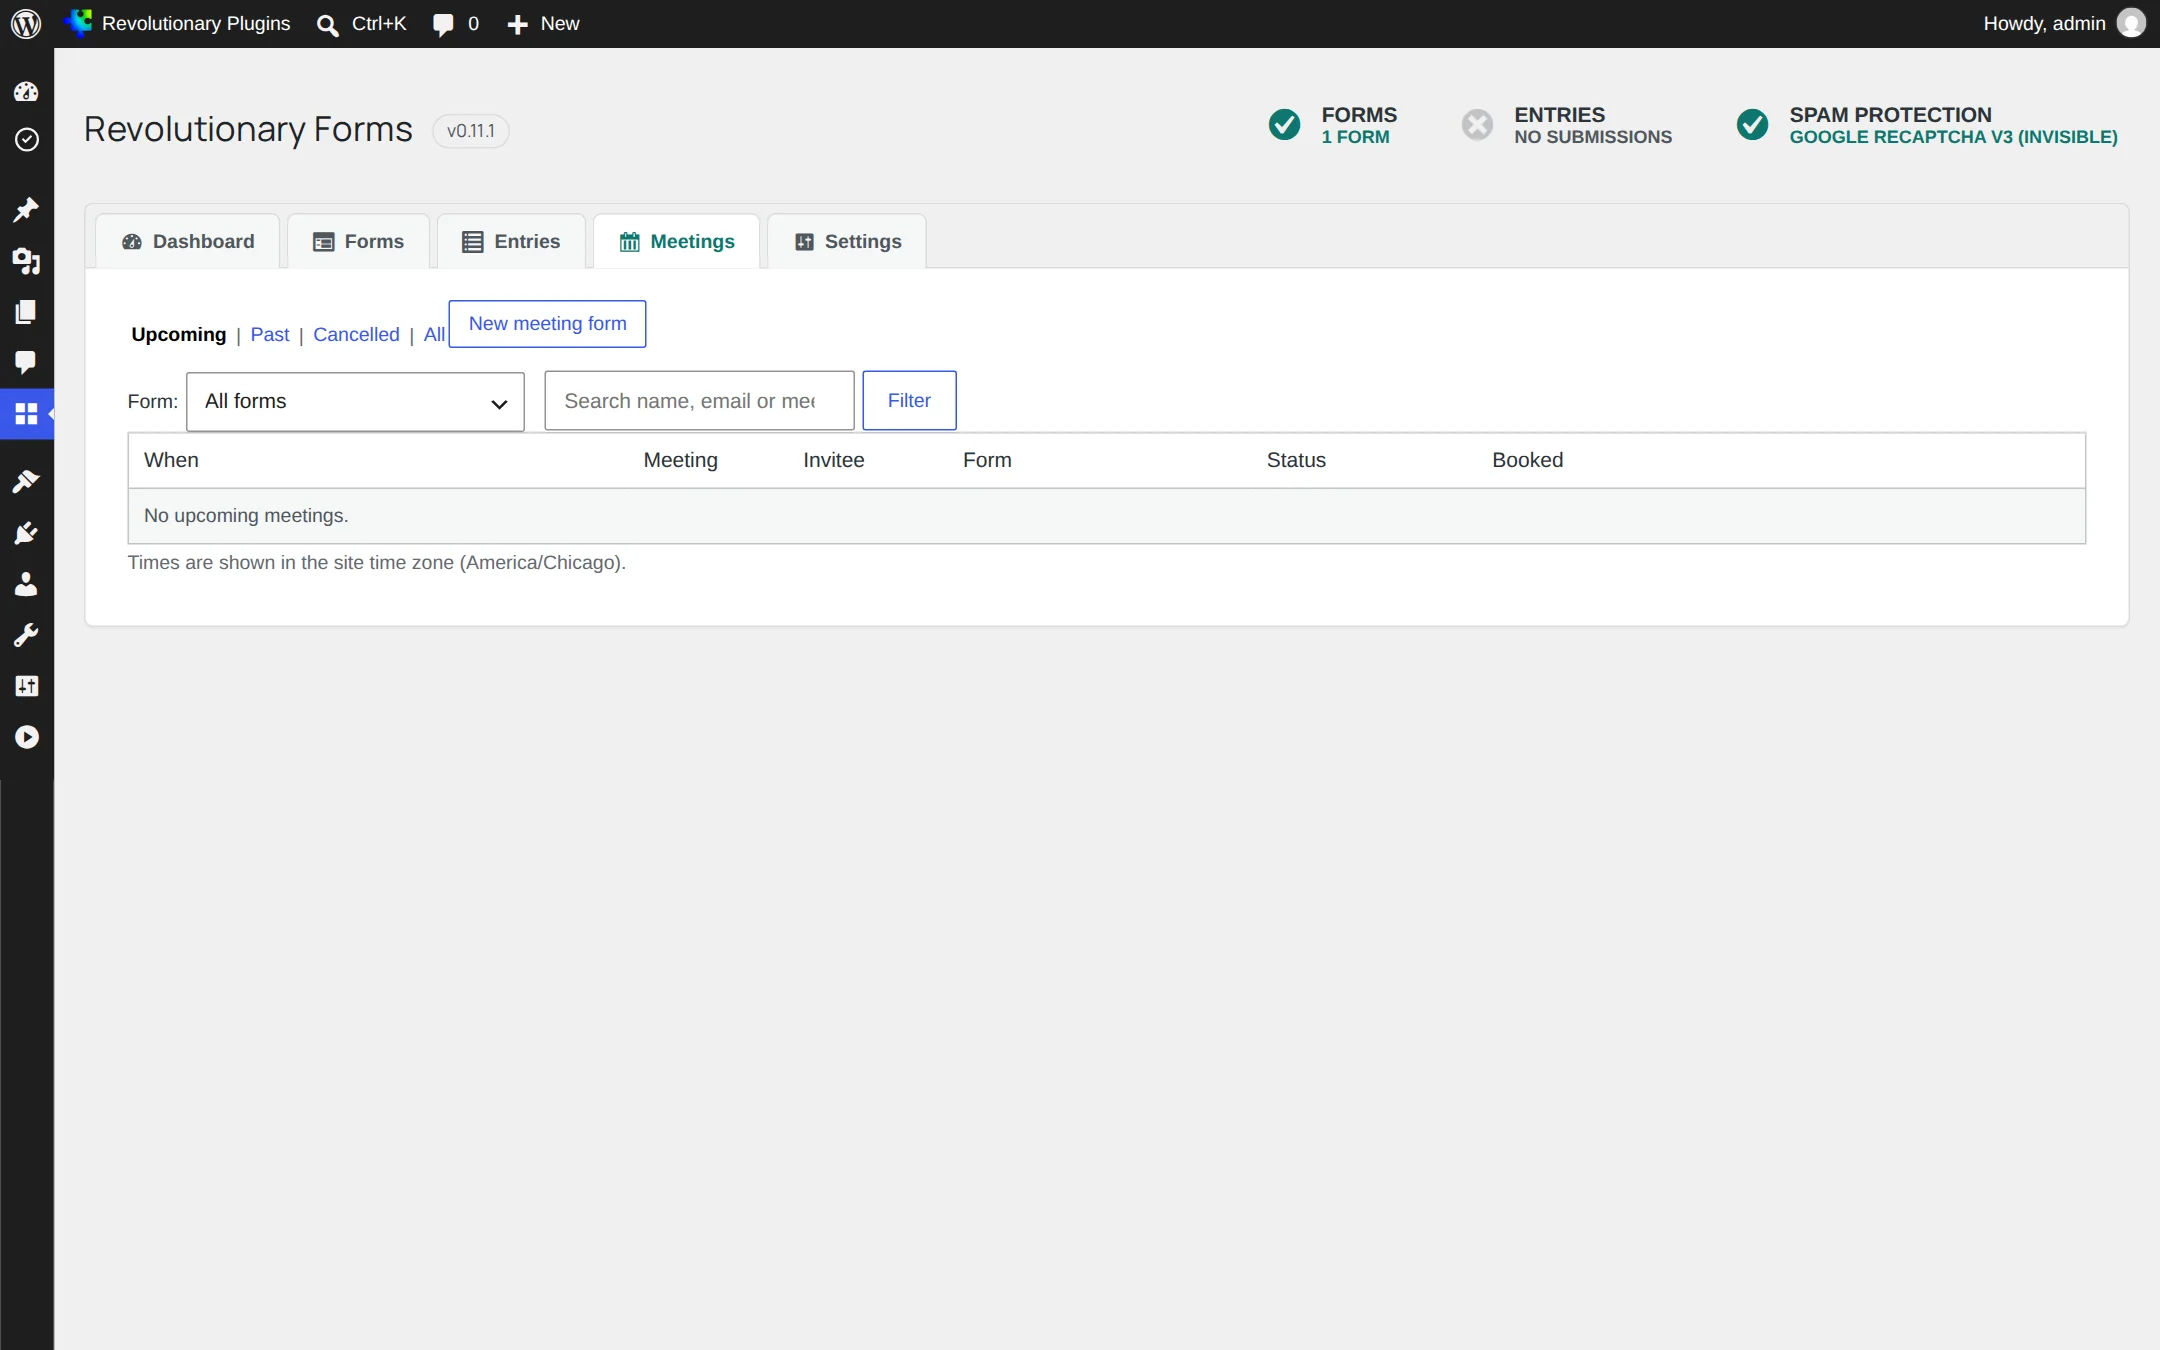
Forms, Meetings lists every booking.
Integration
Microsoft 365 calendar and Teams
Book straight into a host's Outlook calendar, with an optional Teams meeting.
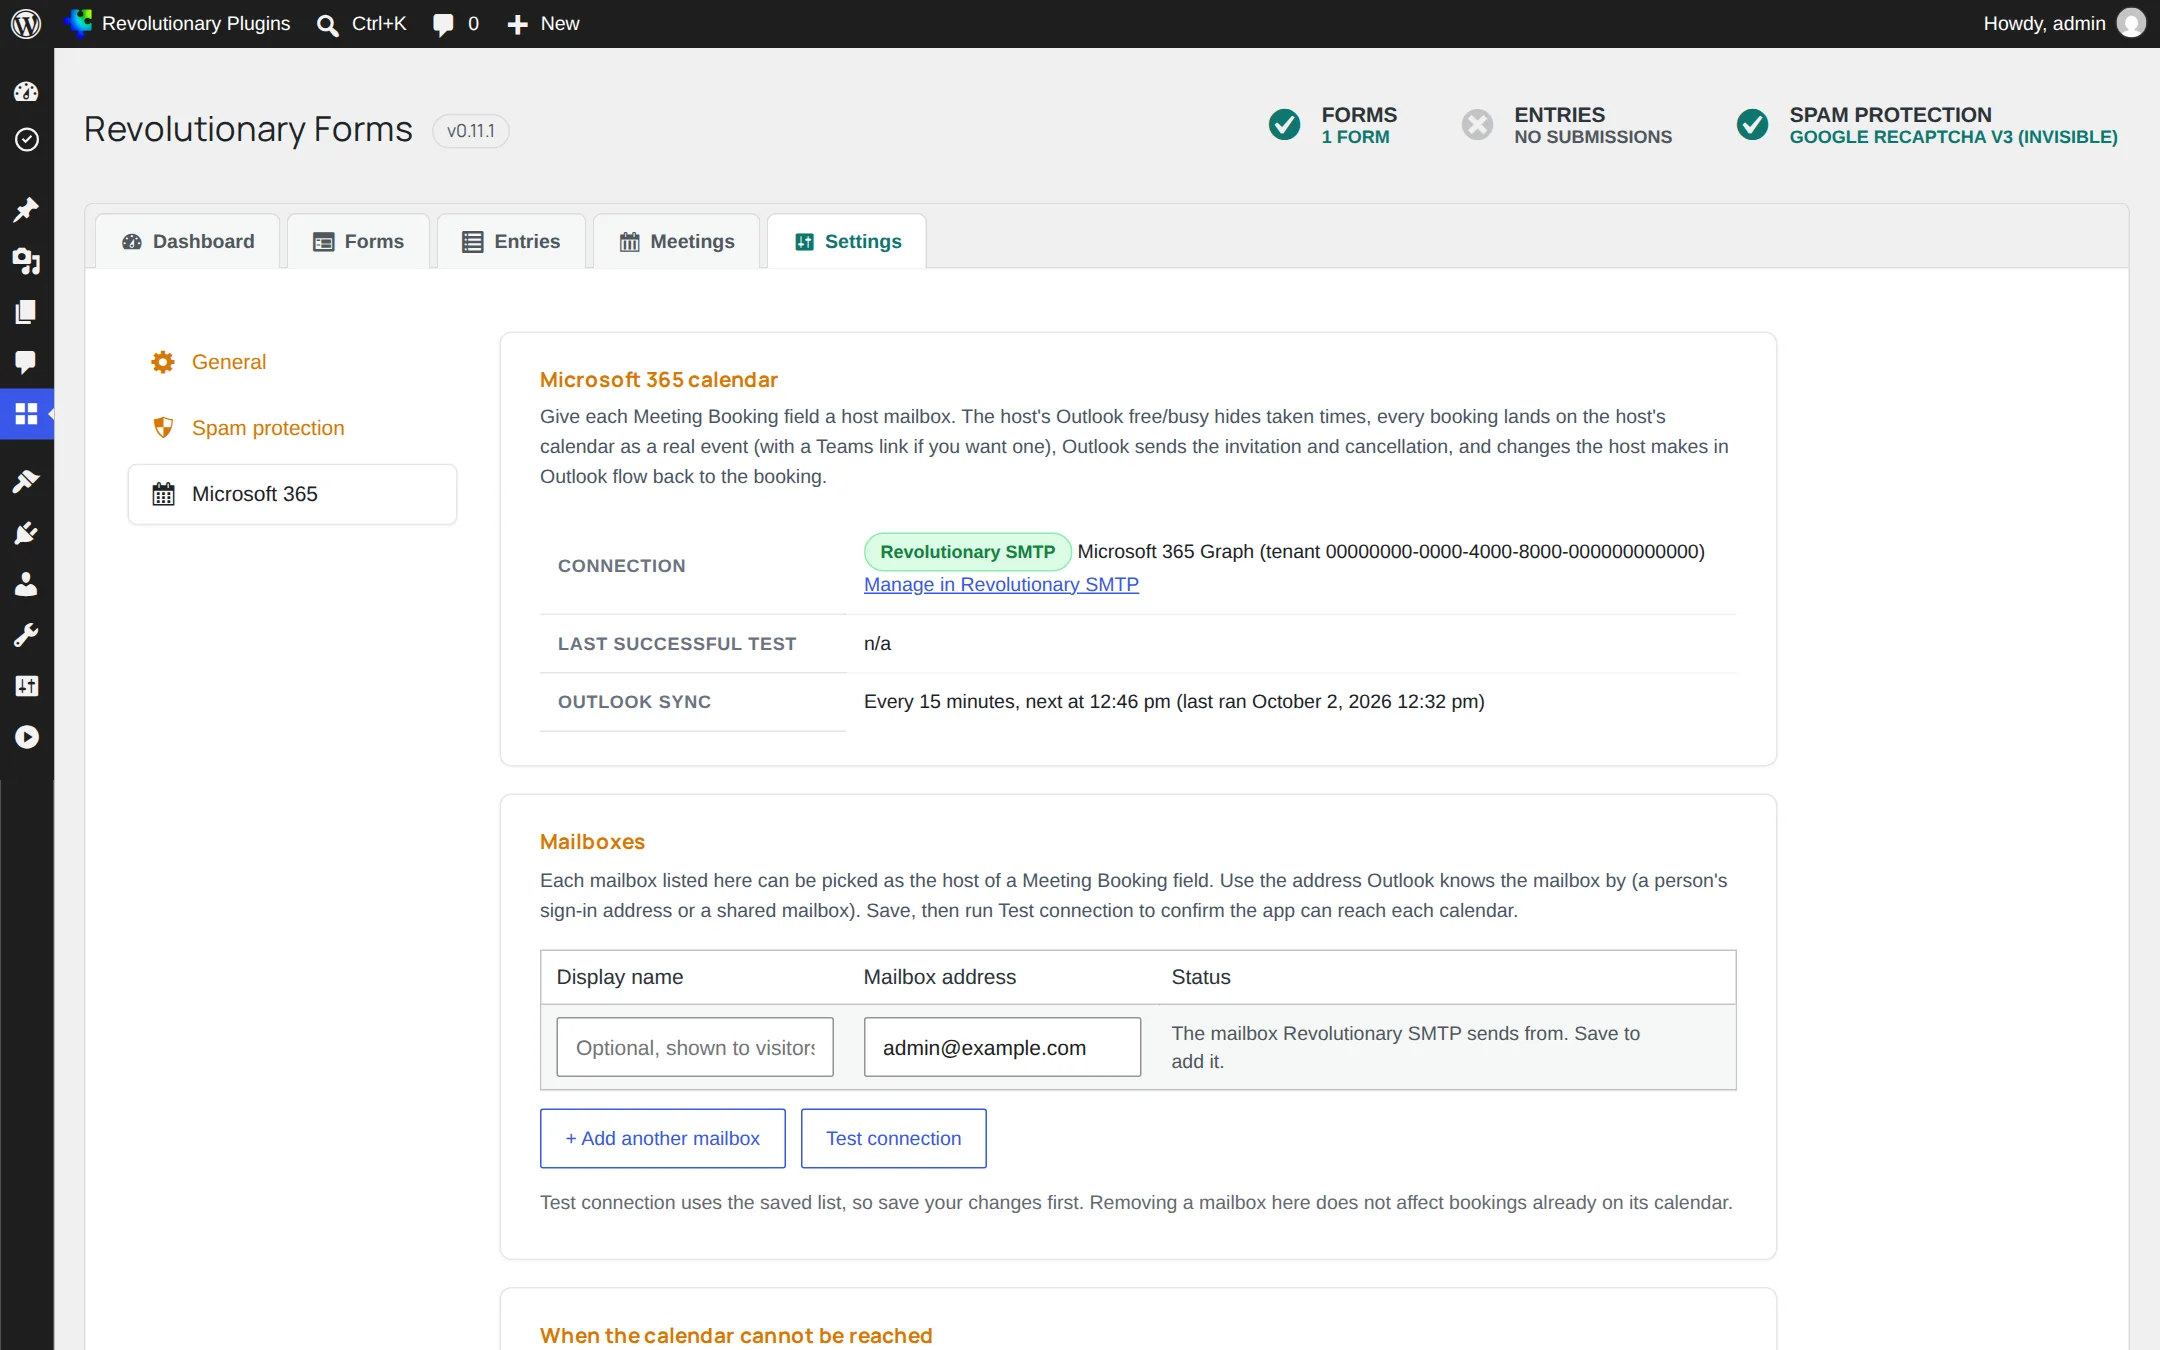
- 1. Set up the Microsoft 365 connection in Revolutionary SMTP first. Forms reuses it.
- 2. In your Microsoft Entra app, grant the Calendars.ReadWrite application permission.
- 3. Open Forms, Settings, Microsoft 365 and add the mailbox of each host.
- 4. Save, then click Test connection.
- 5. In the builder, select the Meeting Booking field and choose a host.
Once a host is set, open slots respect their Outlook free and busy times, each booking becomes a real calendar event, and a Teams meeting can be created for it. Every 15 minutes, changes the host makes in Outlook are synced back.
Submissions
Entries
Forms, Entries shows submissions for one form at a time.
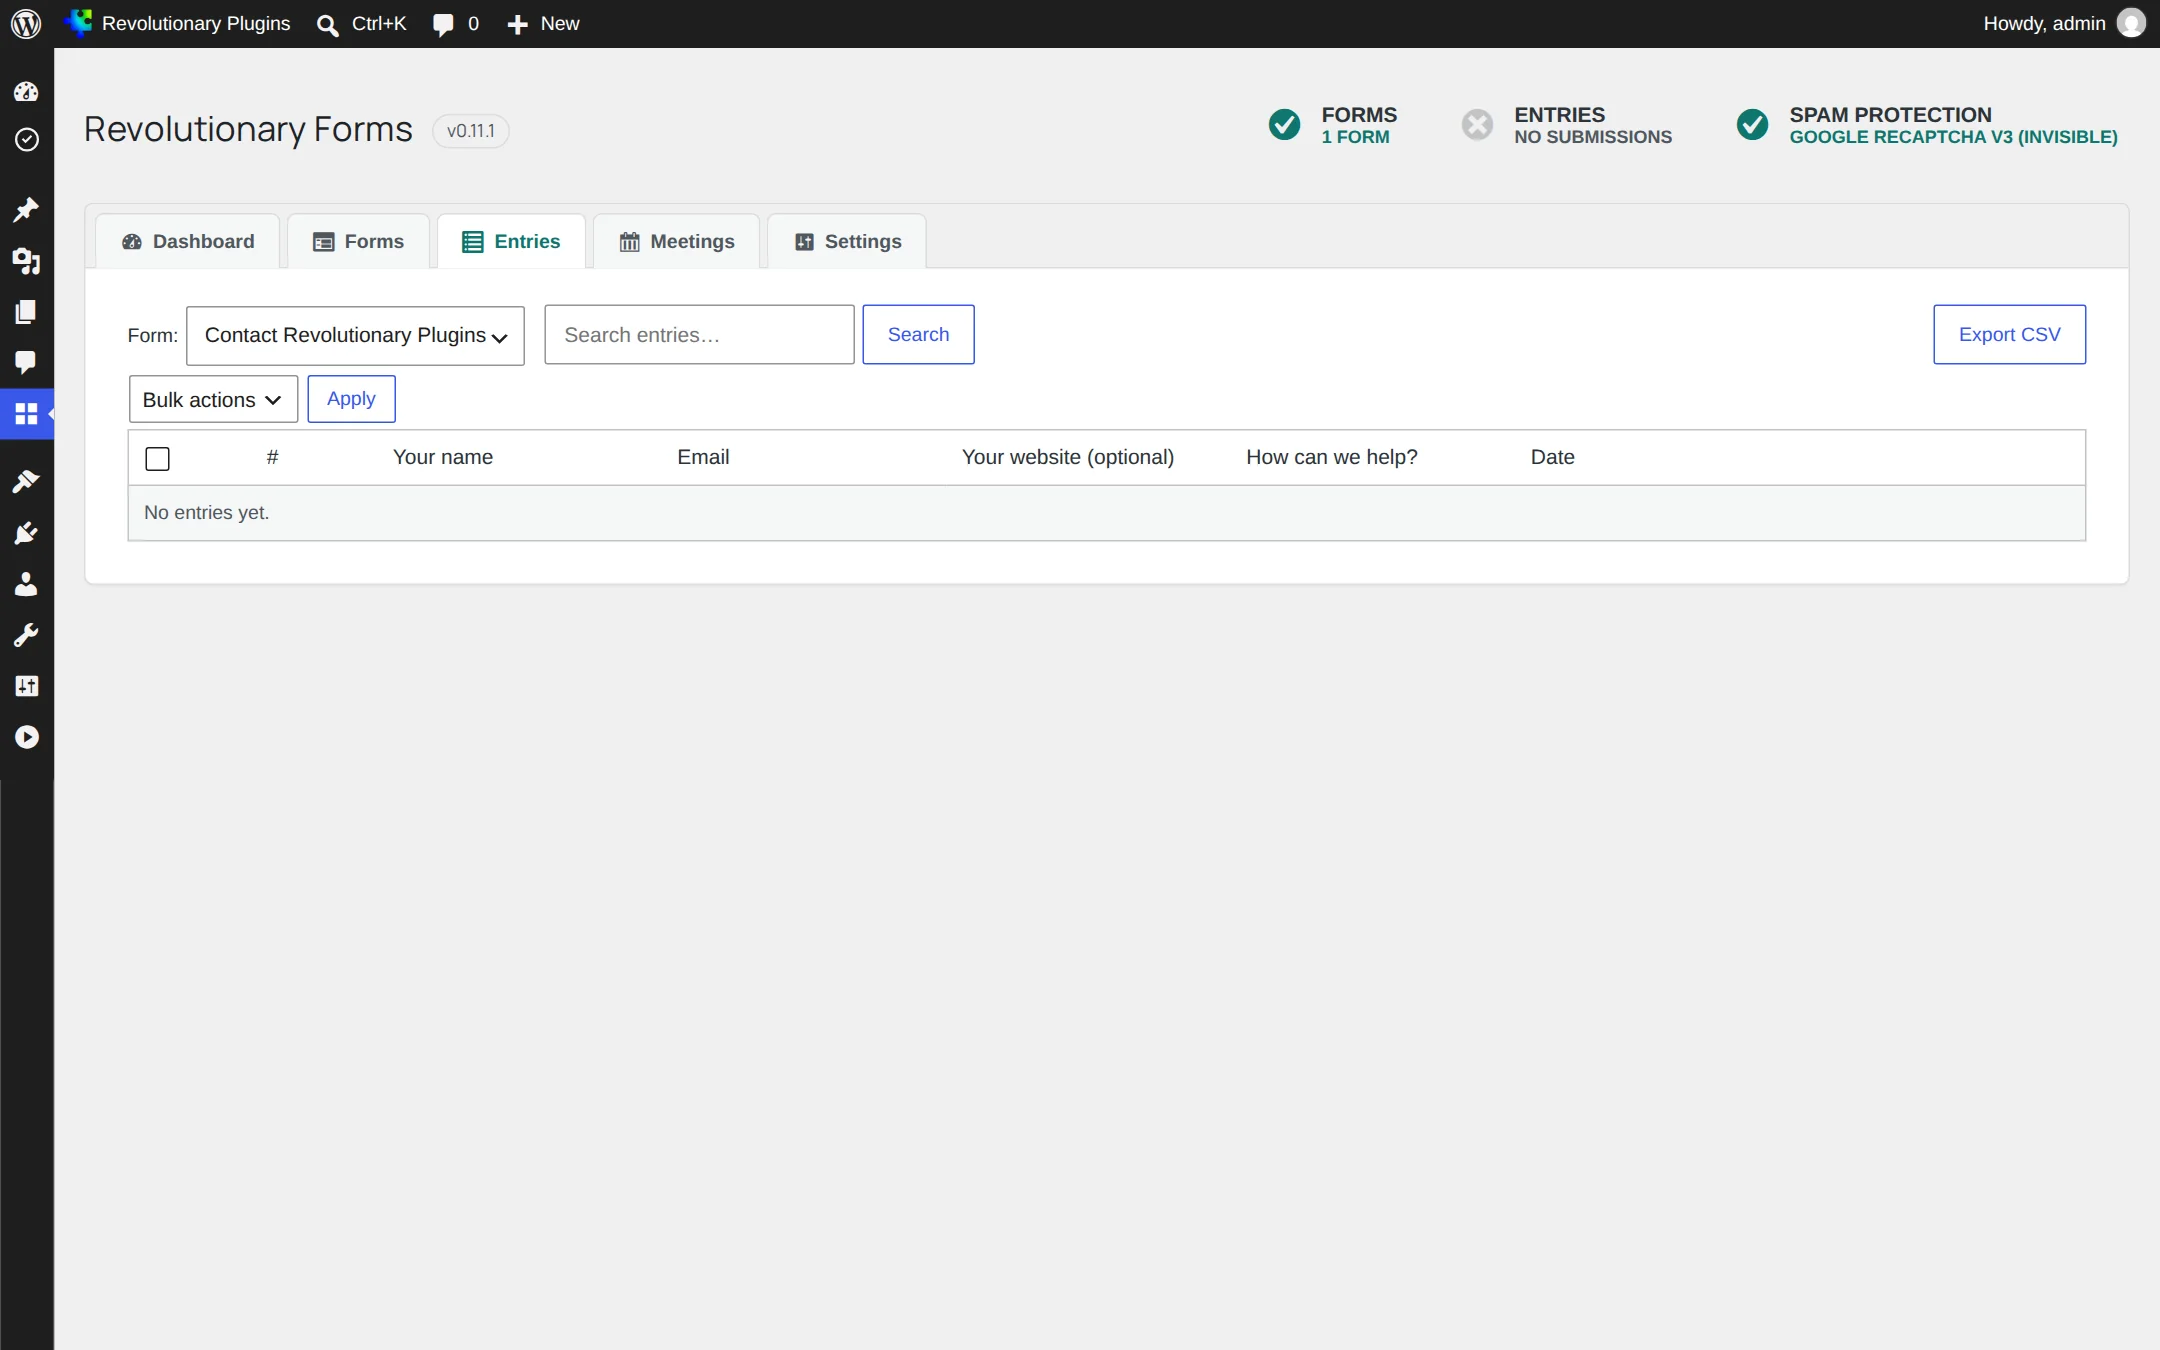
- Choose a form from the Form filter, then search its entries.
- Mark entries read or unread and star the ones you want to come back to, one at a time or in bulk.
- Open an entry to see every answer.
- Delete entries you no longer need.
- Export the form's entries to CSV. Values that a spreadsheet could run as formulas are neutralized.
Protection
Spam protection
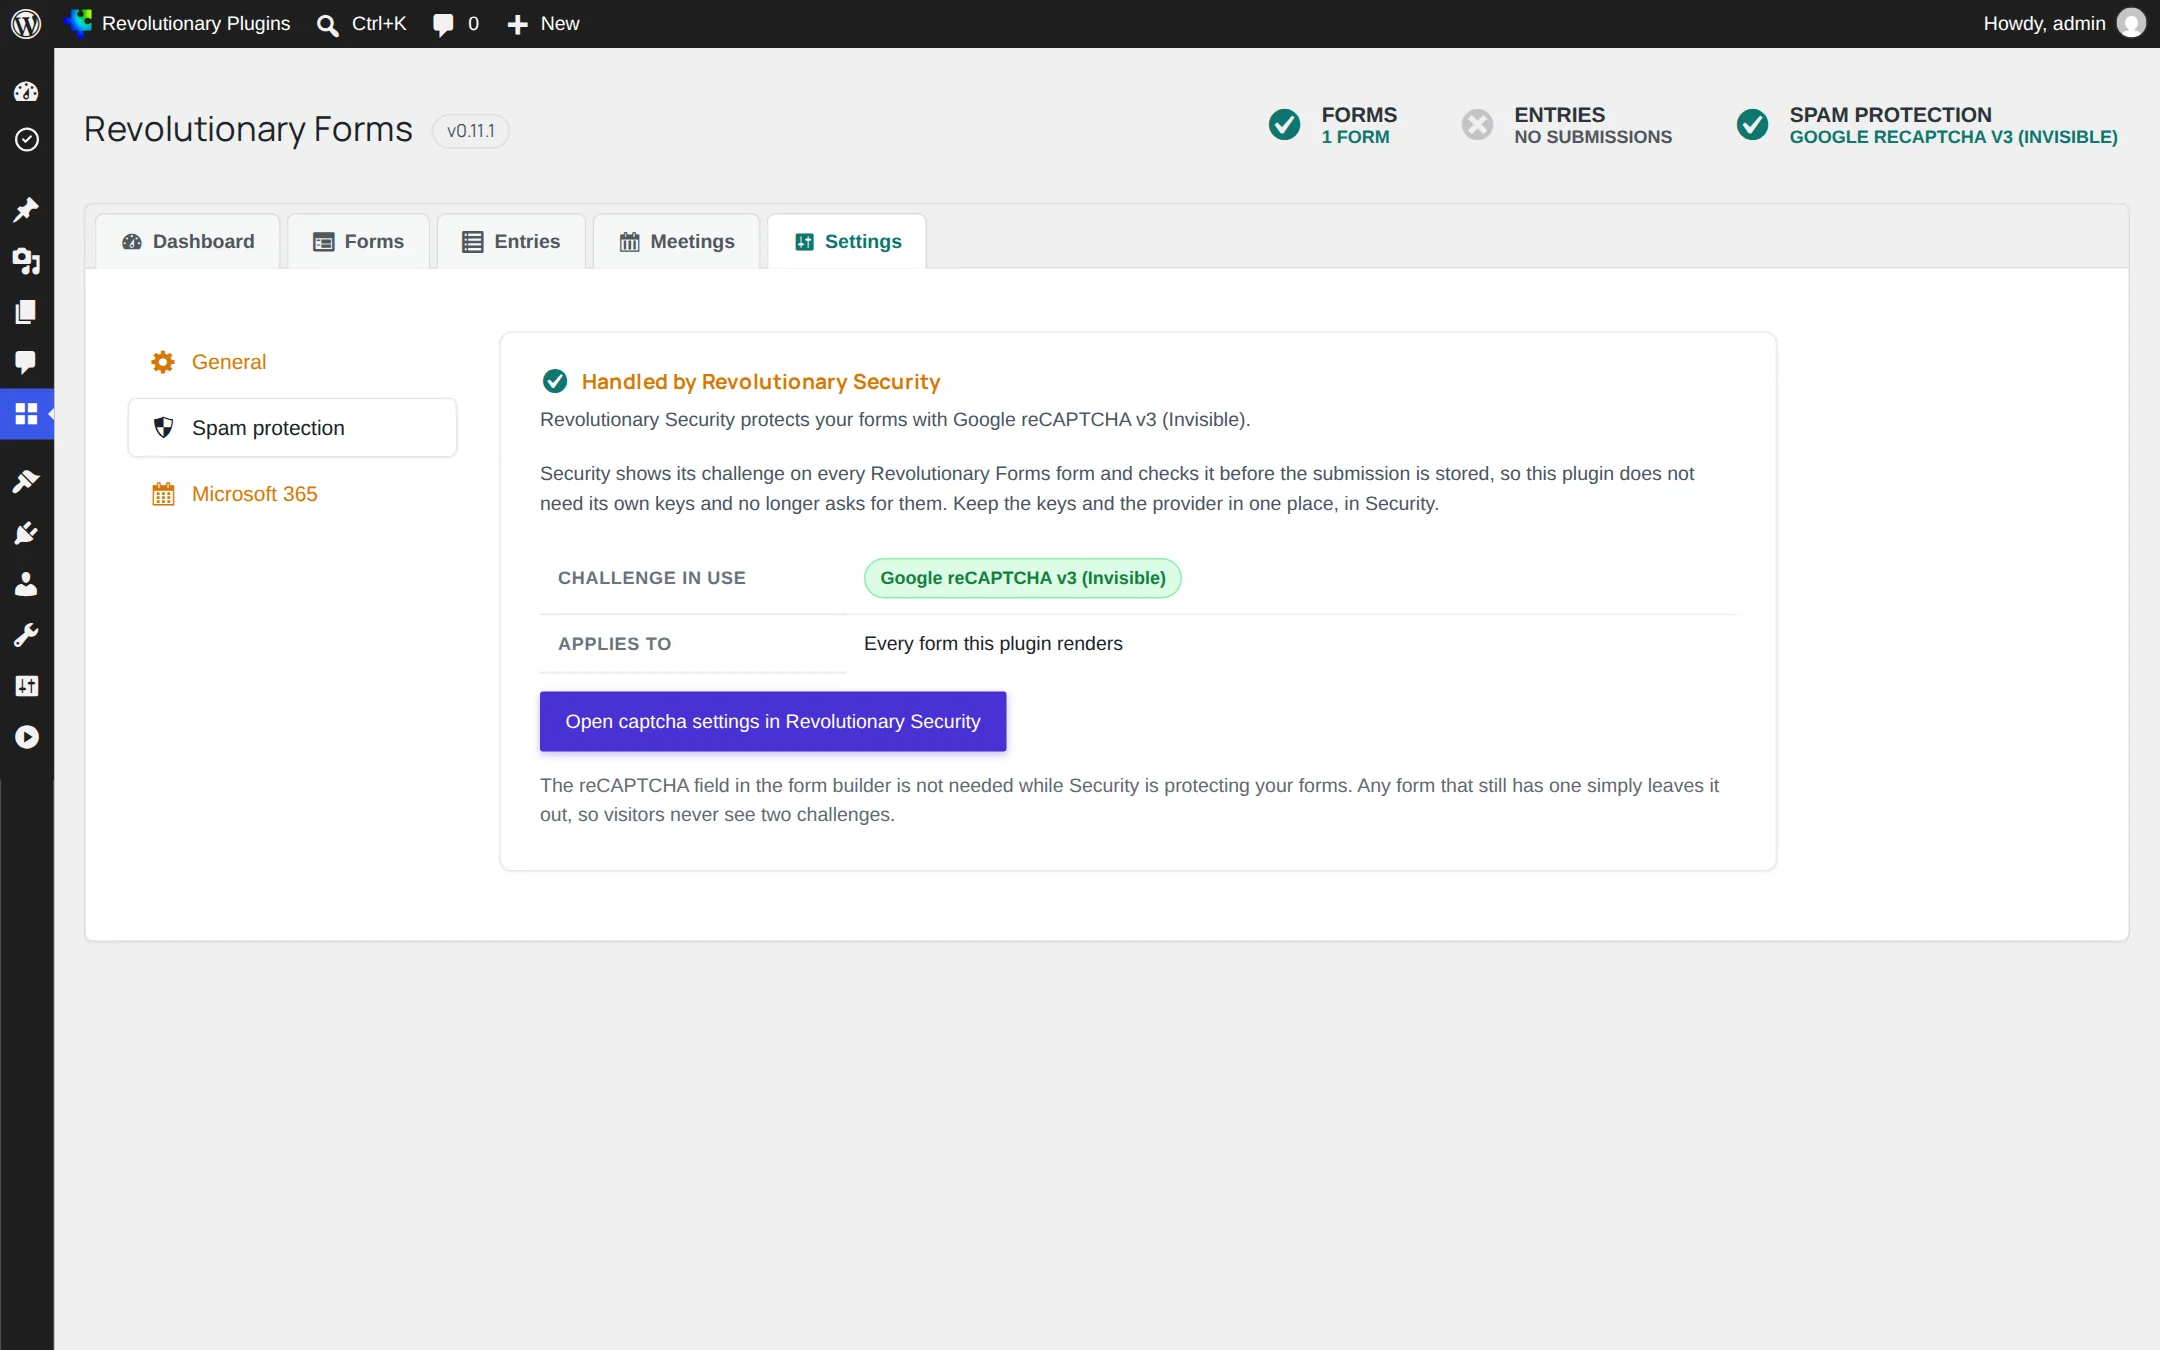
- A hidden honeypot field is on by default and catches bots that fill in every box.
- Each address can submit up to 10 times per minute.
- With Revolutionary Security active, its captcha (reCAPTCHA, hCaptcha, Turnstile or a key-free challenge) protects every form, and the Spam protection tab says so.
- Without Security, a built-in reCAPTCHA (checkbox or invisible) is available on the Spam protection tab.
Your site
Embedding and styling
Shortcodes
Use or the alias , with the ID from the Forms list.
Revolutionary Blocks
The Form widget in Revolutionary Blocks lists every form in a dropdown.
Colors
Forms follow the light and dark color mode of the Multipurpose theme. To fine-tune colors, override the --rf-color-* CSS variables in your theme.
Submission behavior
Conditional fields and protected uploads
Conditional rules update field visibility while a visitor fills out the form, and the server applies the rules again on submission.
Hidden fields are excluded from submission and from browser required-field checks. Test both sides of each rule with fictional values, including invalid partial numbers for a numeric rule.
New uploads use protected storage and authorized entry downloads. Files uploaded before protected storage was introduced retain their original public URLs and require separate review. Check entry access as an authorized operator and as a different test user. Do not place real personal records in walkthroughs or screenshots.
Troubleshooting
Common questions
Revolutionary Security is active and handles the captcha for every form. Change the provider and keys in Security, Captcha.
Check the To address on the Notifications tab, then check your mail setup. Revolutionary SMTP logs every message so you can see whether it was sent.
Make sure Revolutionary SMTP's Microsoft 365 connection works, that the app has the Calendars.ReadWrite application permission with admin consent, and that the host mailbox address is correct.
No. Manage forms and entries from wp-admin.
Deleting it removes every form, entry and booking along with its settings. Export your entries to CSV first.
Stuck on something?
Search the forums, open a ticket, or write to us. A real person reads every message.