

Documentation · Revolutionary Ticketing 0.4.6
Revolutionary Ticketing, set up and running your helpdesk.
How to add the customer portal to your site, work tickets with your team, tune notifications, and extend the helpdesk with custom fields, SLAs, the REST API and webhooks.
Released version 0.4.4
Current release setup and checks
Let customers open support tickets while your team manages the conversation in WordPress.
- Ticket attachments use protected storage and an unguessable path. The released interface does not yet display or download ticket attachments.
- The released Chat Bot integration carries the Security CAPTCHA challenge when it offers the inline ticket form.
- The ticket list has bulk status, priority and assignment actions and saved views for My open, Unassigned urgent and Breaching SLA tickets. Auto-close of resolved tickets is off until a number of days is set through the revticket_auto_close option or filter. There is no settings screen for it.
Check your setup
- Place the ticket form and customer ticket views using the documented widgets or shortcodes.
- Test as the ticket owner and as a different signed-in test user to check access isolation.
Quick start
Up and running in minutes
Step 1
Install and activate
Upload the plugin zip under Plugins, Add New, Upload Plugin, and activate. The agent and requester roles, default statuses and priorities are created.
Step 2
Create three pages
Submit a ticket, My tickets and View ticket, each with its shortcode or block.
Step 3
Set who hears about it
Ticketing, Settings. Enter notification recipients and choose who can submit.
Step 4
Open a test ticket
Submit a ticket from your site, then reply to it and watch the emails go both ways.
On this page
Start here
Getting started
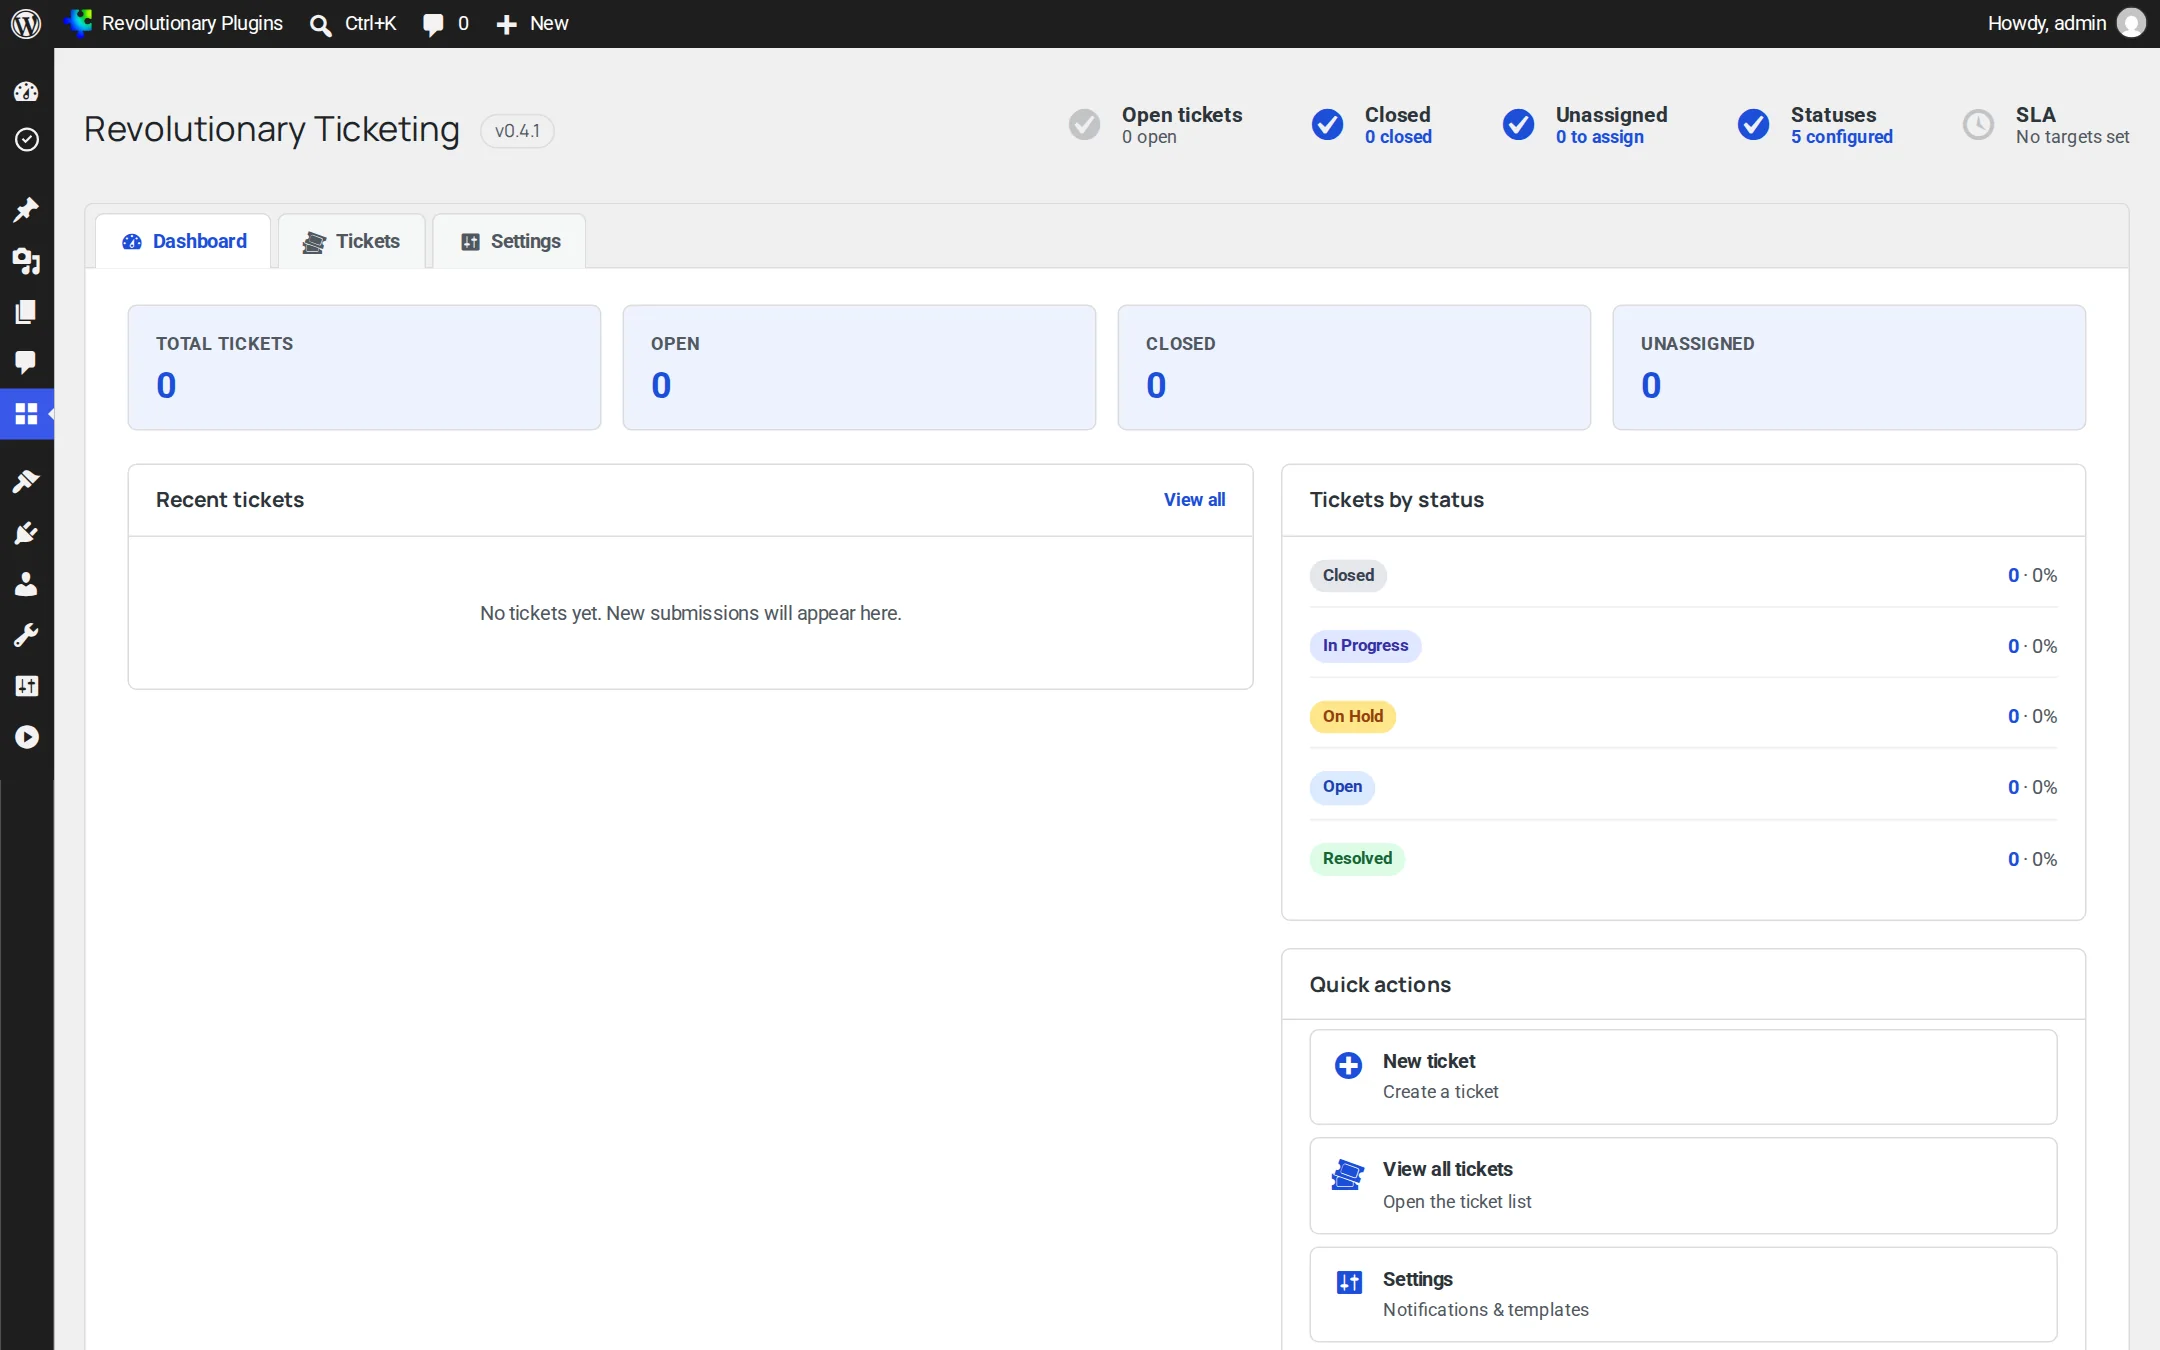
Ticketing lives under Revolutionary Plugins, Ticketing, with three tabs: Dashboard, Tickets and Settings.
Requirements
- WordPress 5.9 or later
- PHP 7.4 or later
License and updates
Updates come from the Revolutionary update server under your Revolutionary license. Enter the license key once in Multipurpose Dashboard, Welcome.
What activation sets up
- The Ticket Agent and Ticket Requester roles
- Five statuses: Open, In Progress, On Hold, Resolved and Closed
- Four priorities: Low, Medium, High and Urgent
The dashboard
Counts of total, open, closed and unassigned tickets, tickets by status, the most recent tickets, and quick links to create a ticket, view all tickets and open settings.
Your site
Set up the customer portal
Customers use three pages. Build each with a shortcode or the matching block.
| Page | Shortcode |
|---|---|
| Submit a ticket | [revticket_submit] |
| My tickets | [revticket_my_tickets view_url="/ticket/"] |
| View ticket | [revticket_view] |
Shortcode options
- [revticket_submit require_login="yes"] shows the form only to signed-in visitors. The default is no.
- [revticket_my_tickets limit="25" view_url="/ticket/"] sets how many tickets to list and which page opens a ticket.
- [revticket_view id="0"] shows the ticket named in the link. Pass an ID to pin one ticket.
Attachments
Customers can attach up to 5 files per submission, up to 10 MB each. Images, PDF, text and CSV files are accepted.
Your team
Working tickets
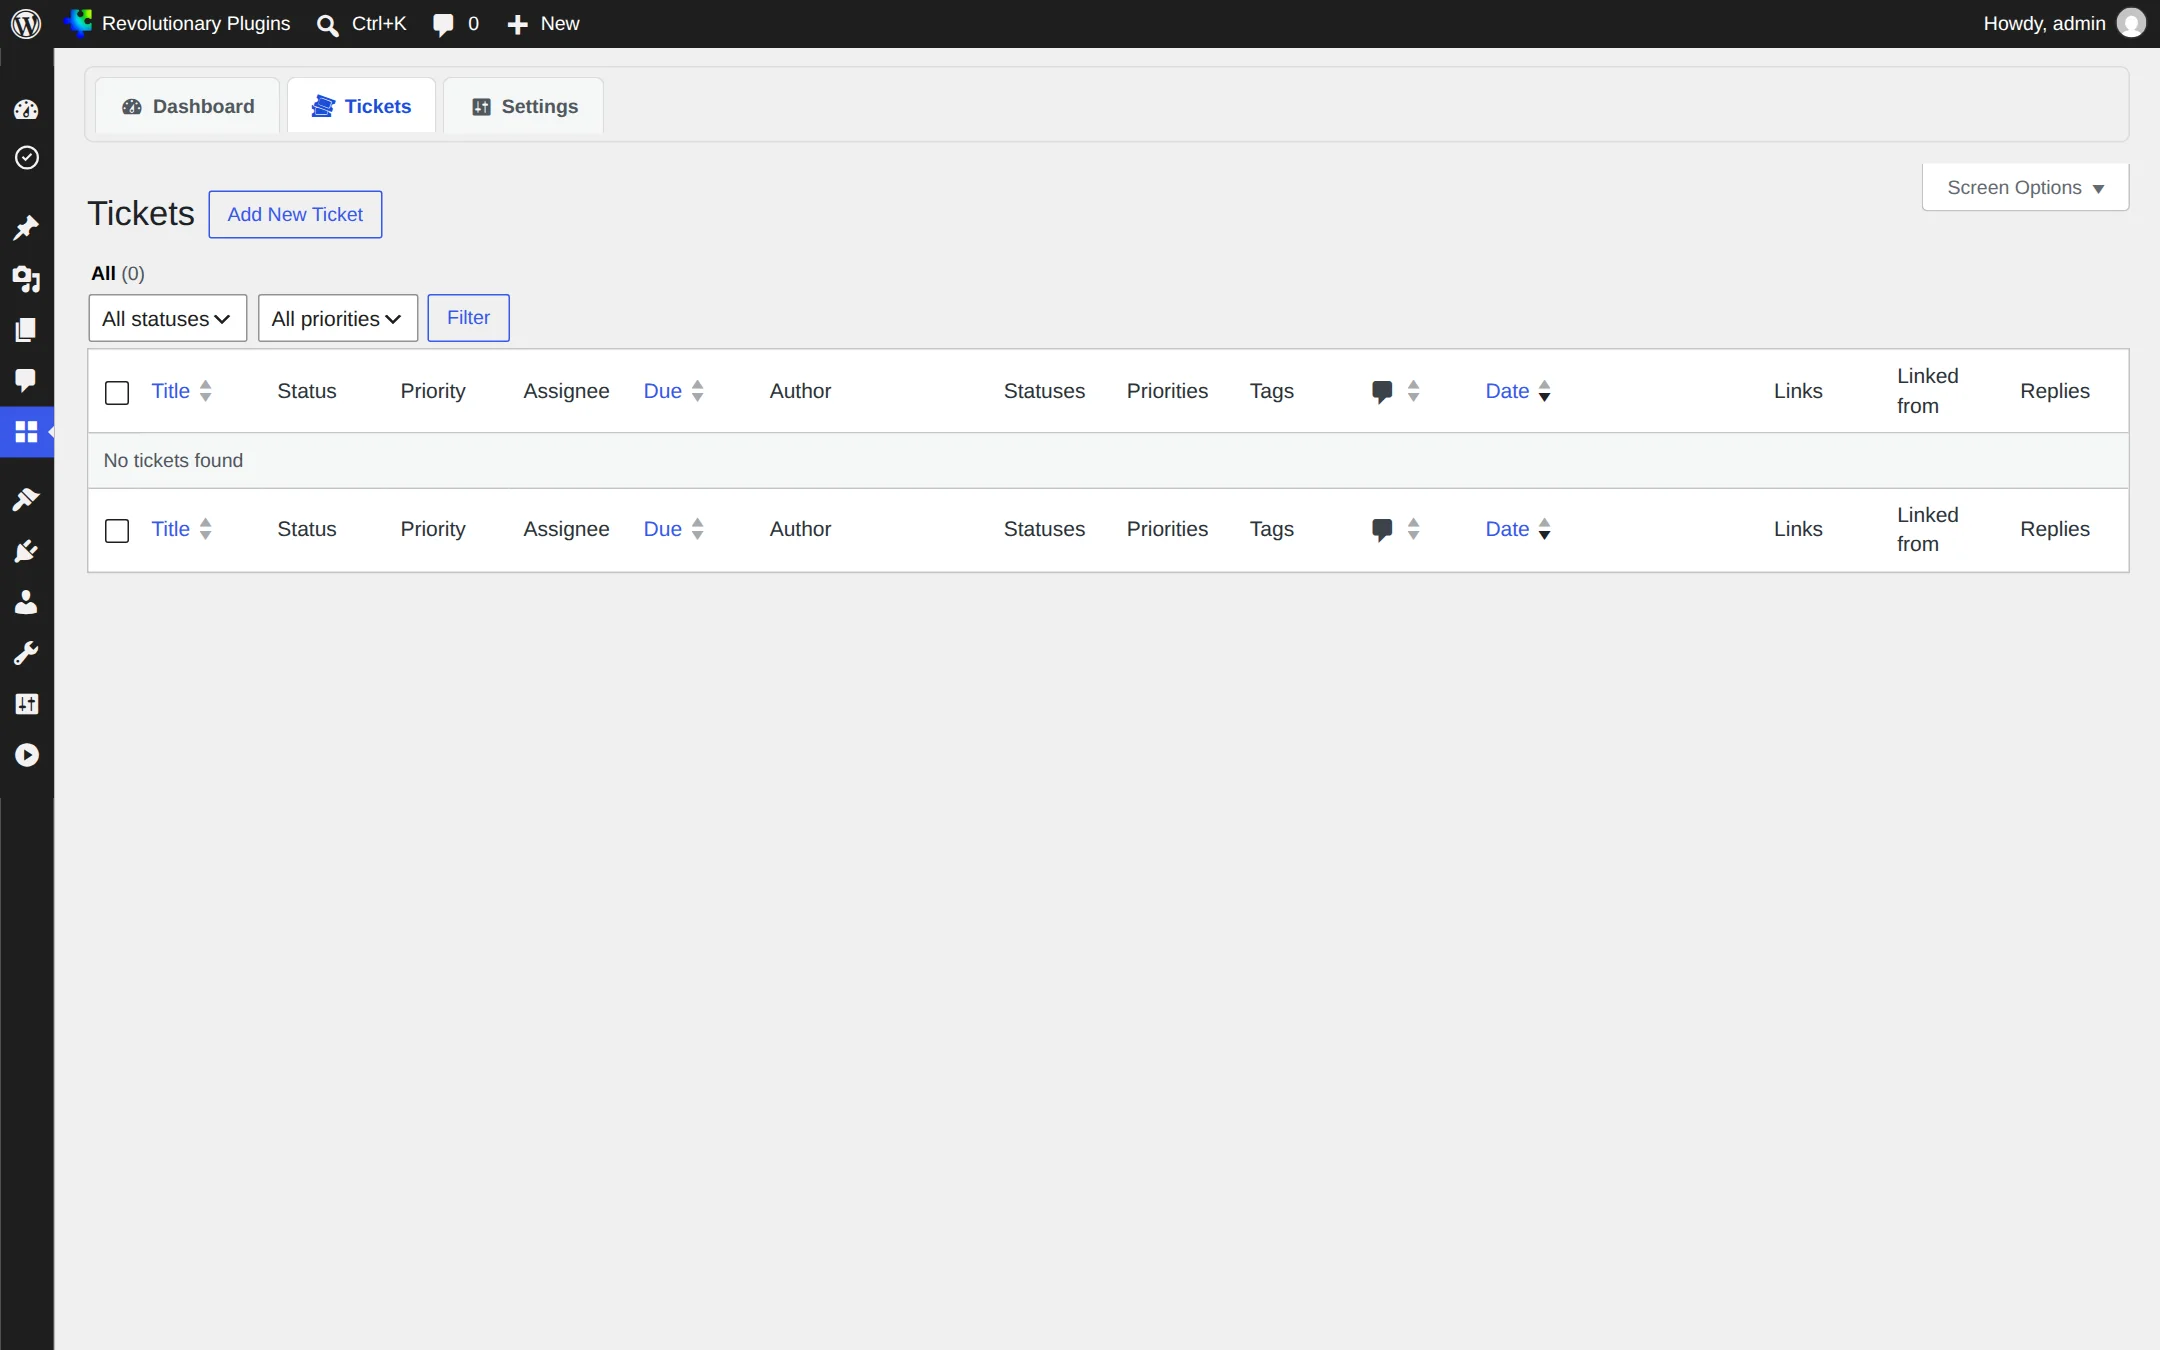
Ticketing, Tickets opens the ticket list. Sort by any column and filter by status, priority or tag.
The Ticket Details box
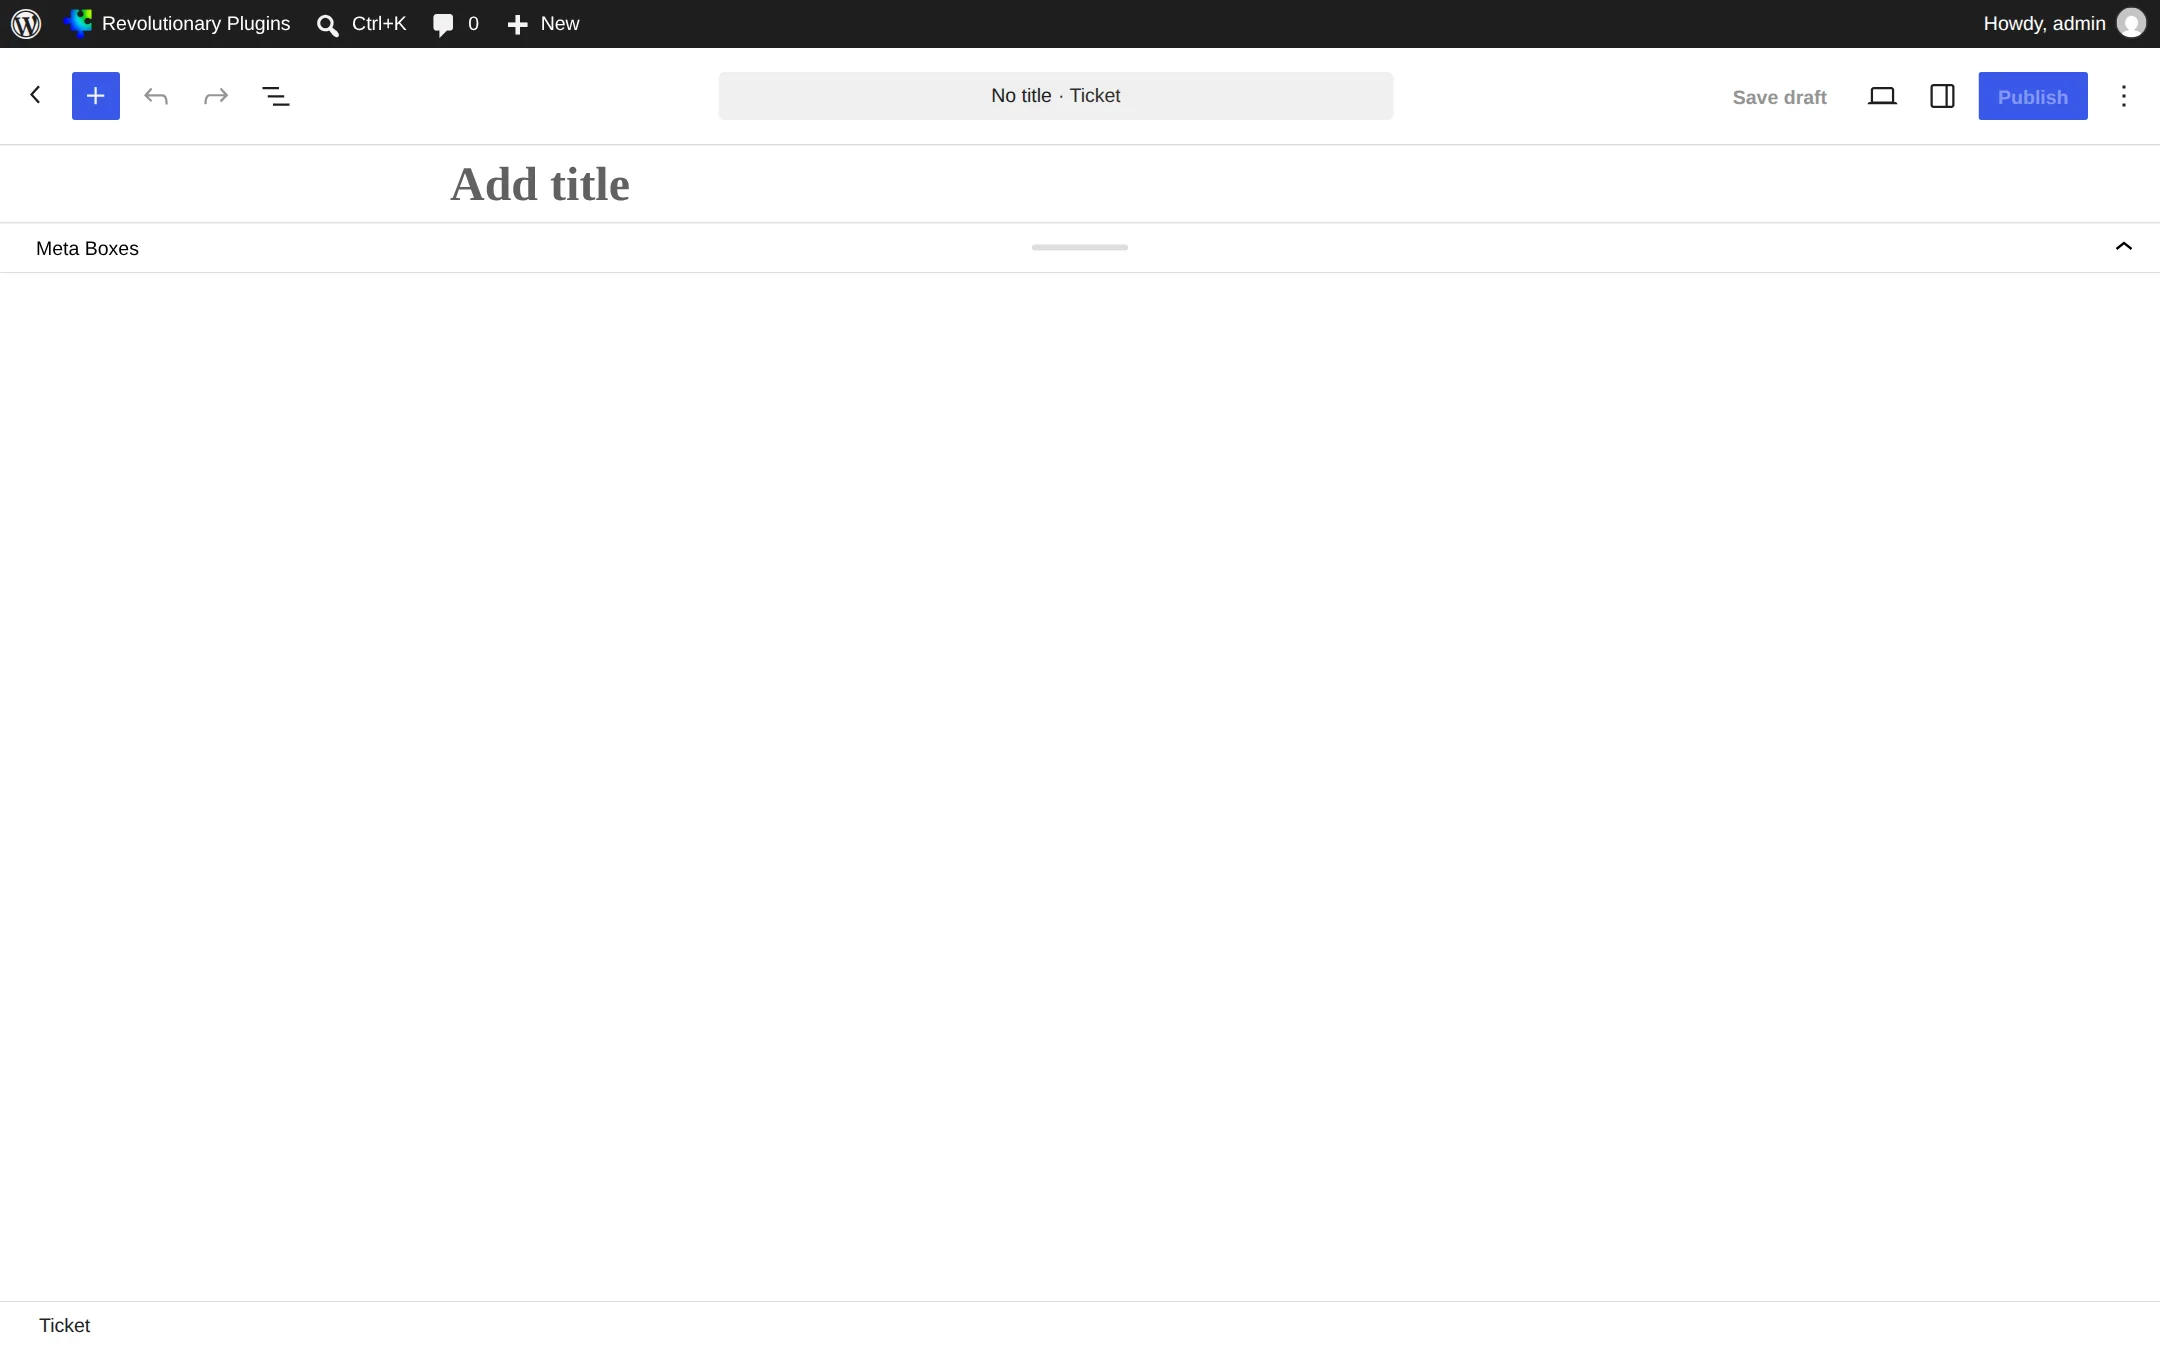
On each ticket, set the requester's email, the assigned agent and a due date. Choose the status, priority and tags in the side boxes, the same way as categories on a post.
Replies and internal notes
Replies are stored as comments on the ticket. When an agent replies from the ticket page on your site, an Internal note box keeps that reply staff-only. Internal notes are never emailed and do not count as a first response.
Statuses and priorities
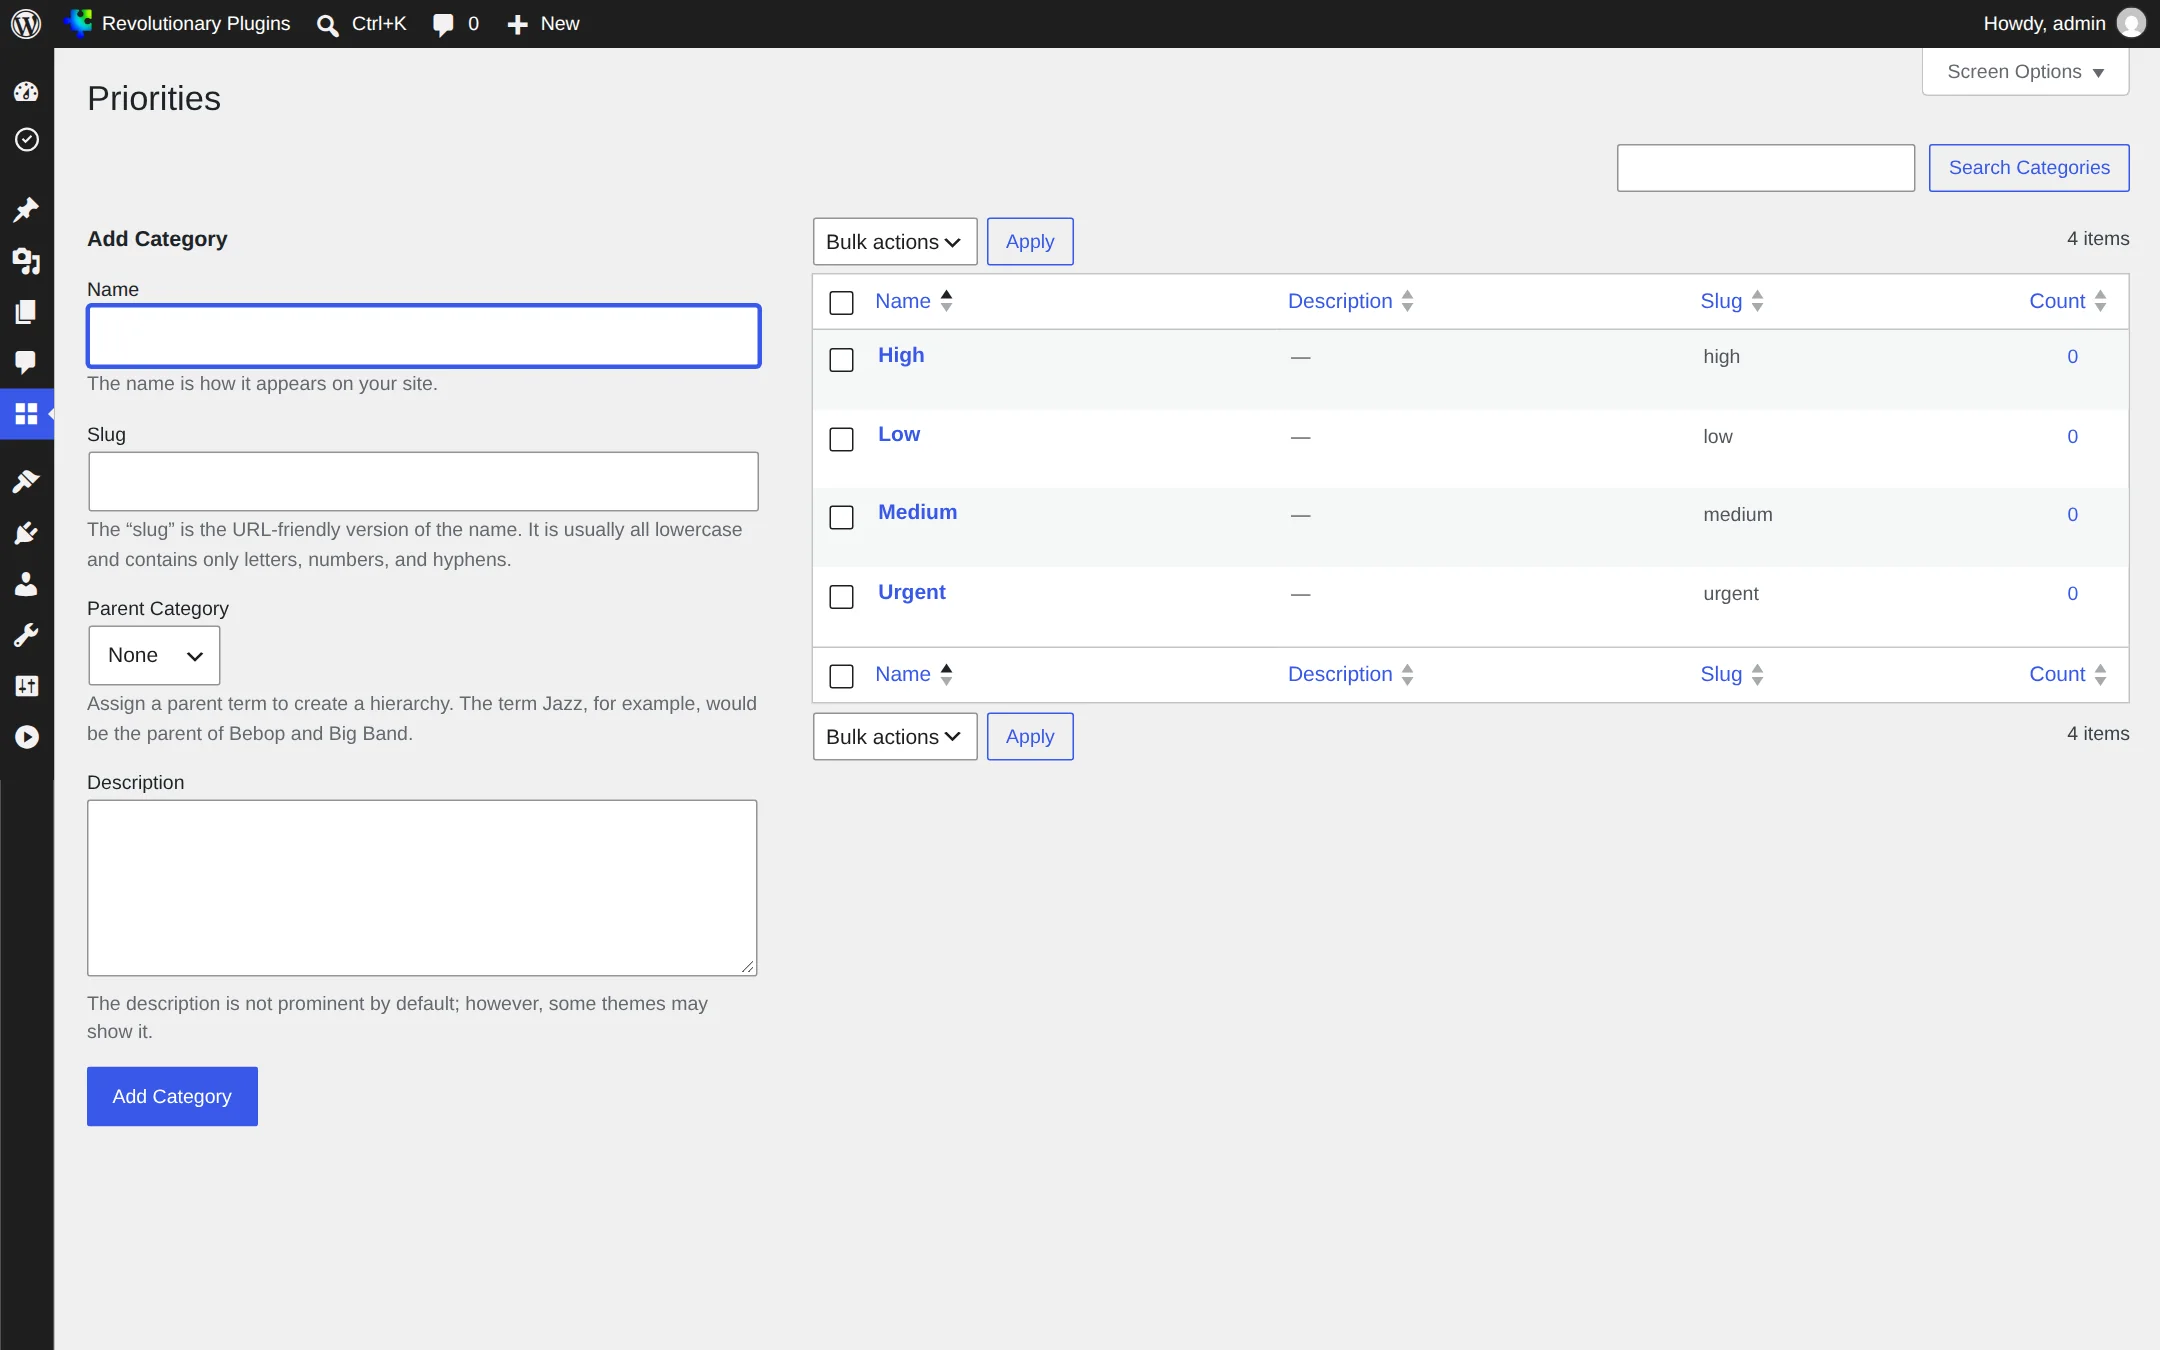
Rename, add or remove statuses just like categories, on the Statuses screen, a standard WordPress terms screen for the ticket status list. It is not in the menu, so bookmark it: wp-admin/edit-tags.php? with taxonomy=revticket_status and post_type=revticket.
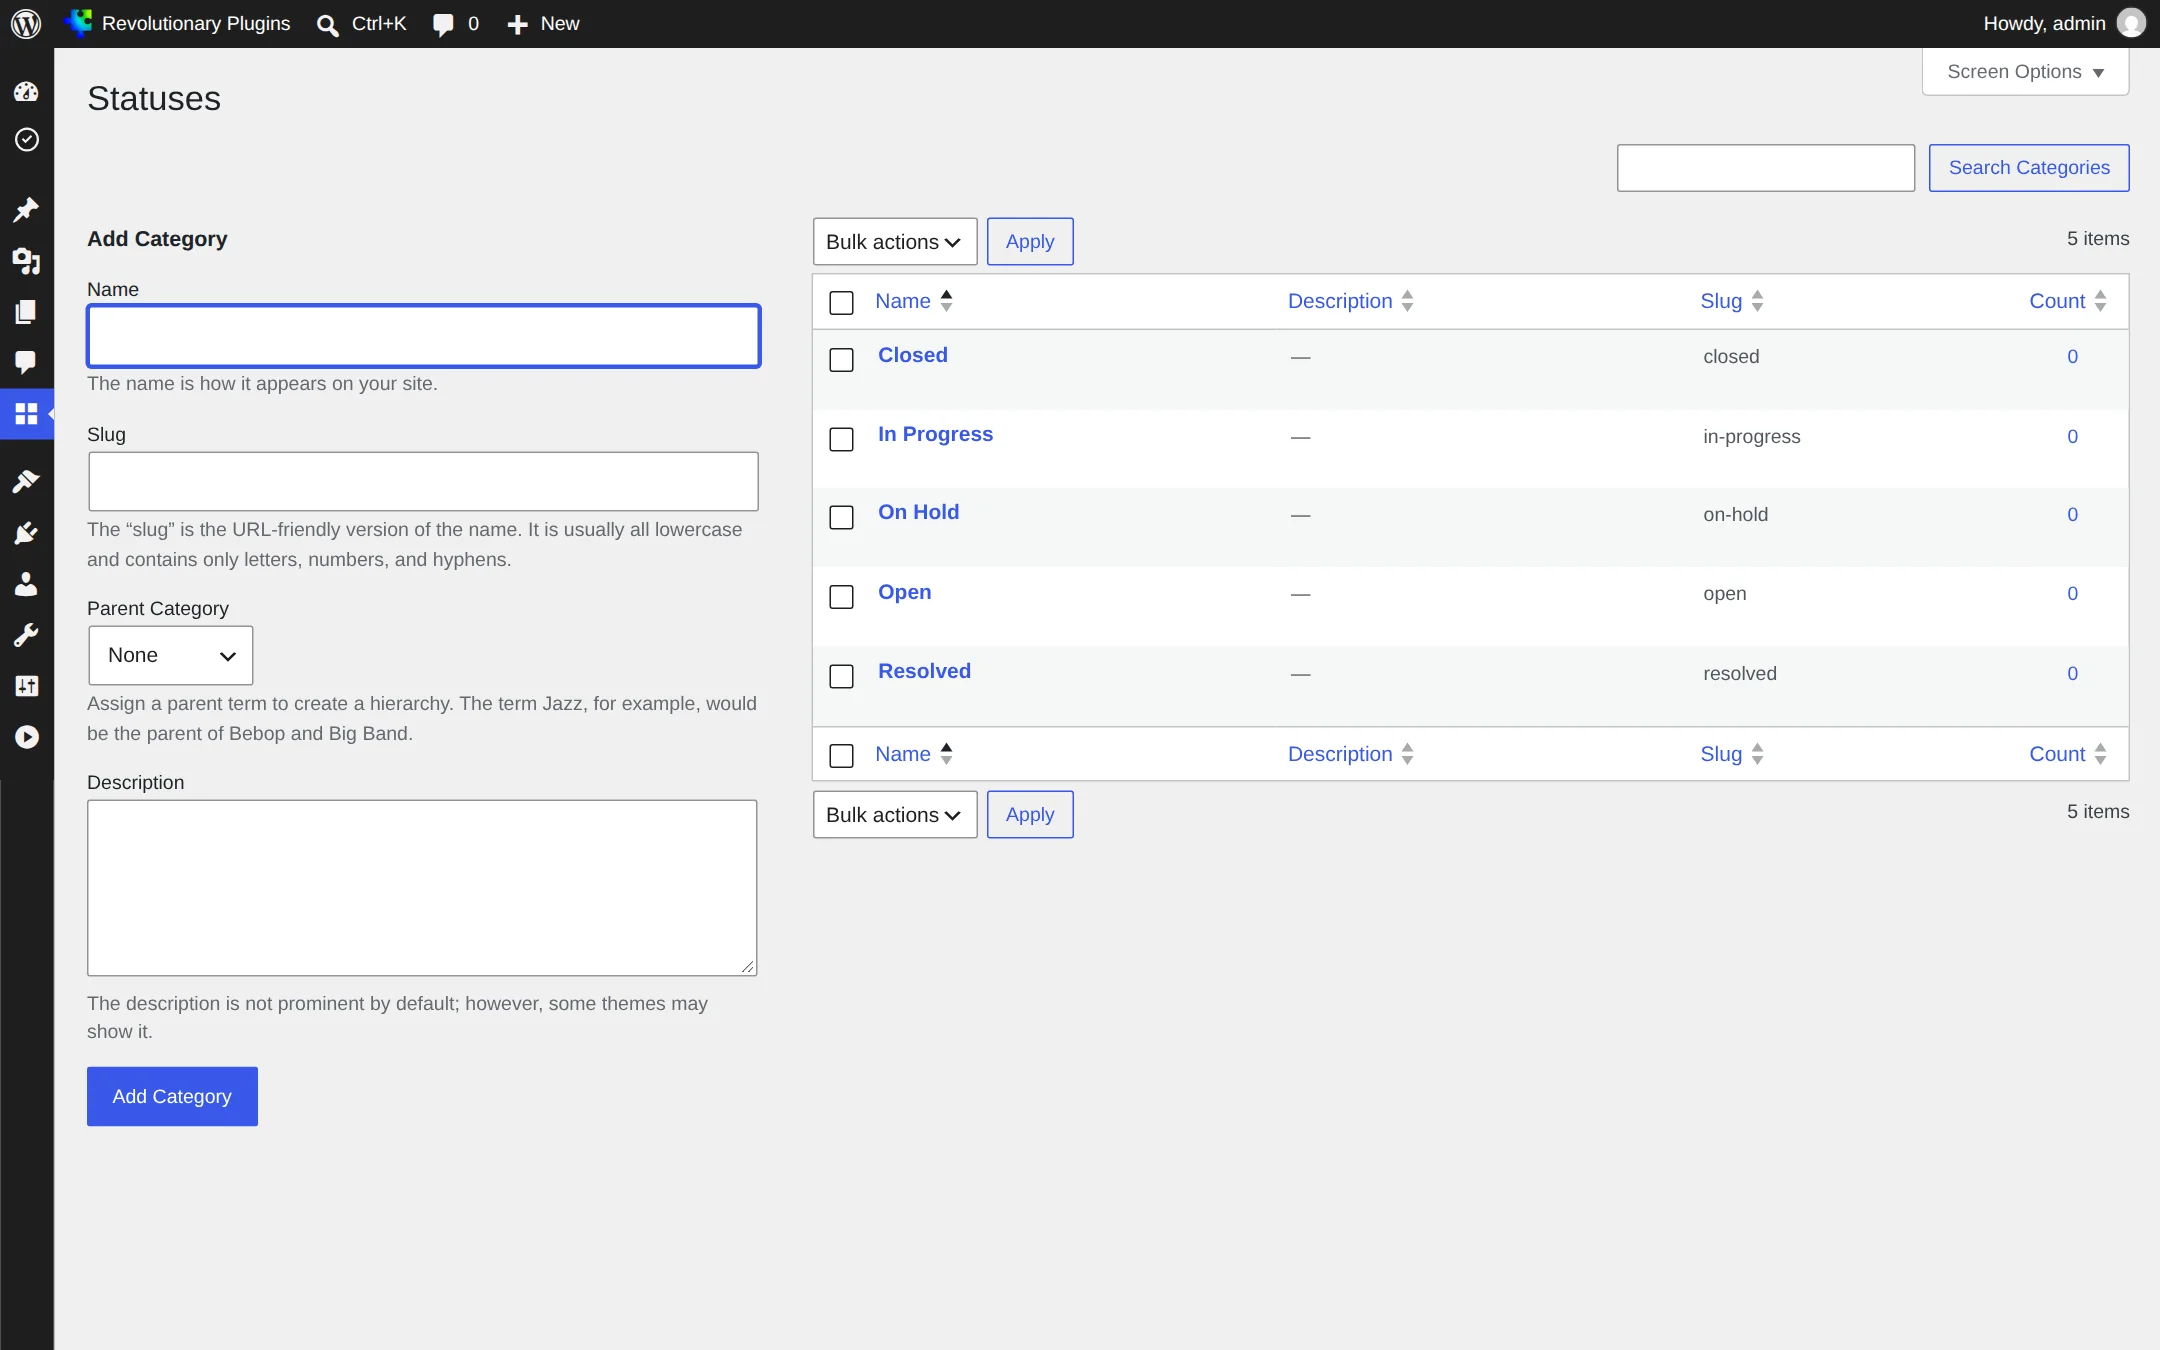
Priorities work the same way, on the matching Priorities screen (the same address with taxonomy=revticket_priority). Keep the low, medium, high and urgent slugs if you use SLA targets, which are keyed by priority slug.
Access
Roles and permissions
| Role | Can do |
|---|---|
| Administrator | Everything, including settings |
| Ticket Agent | See, edit, assign and reply to every ticket, and write internal notes |
| Ticket Requester | Open tickets and see and reply to their own |
Settings
Settings and email templates
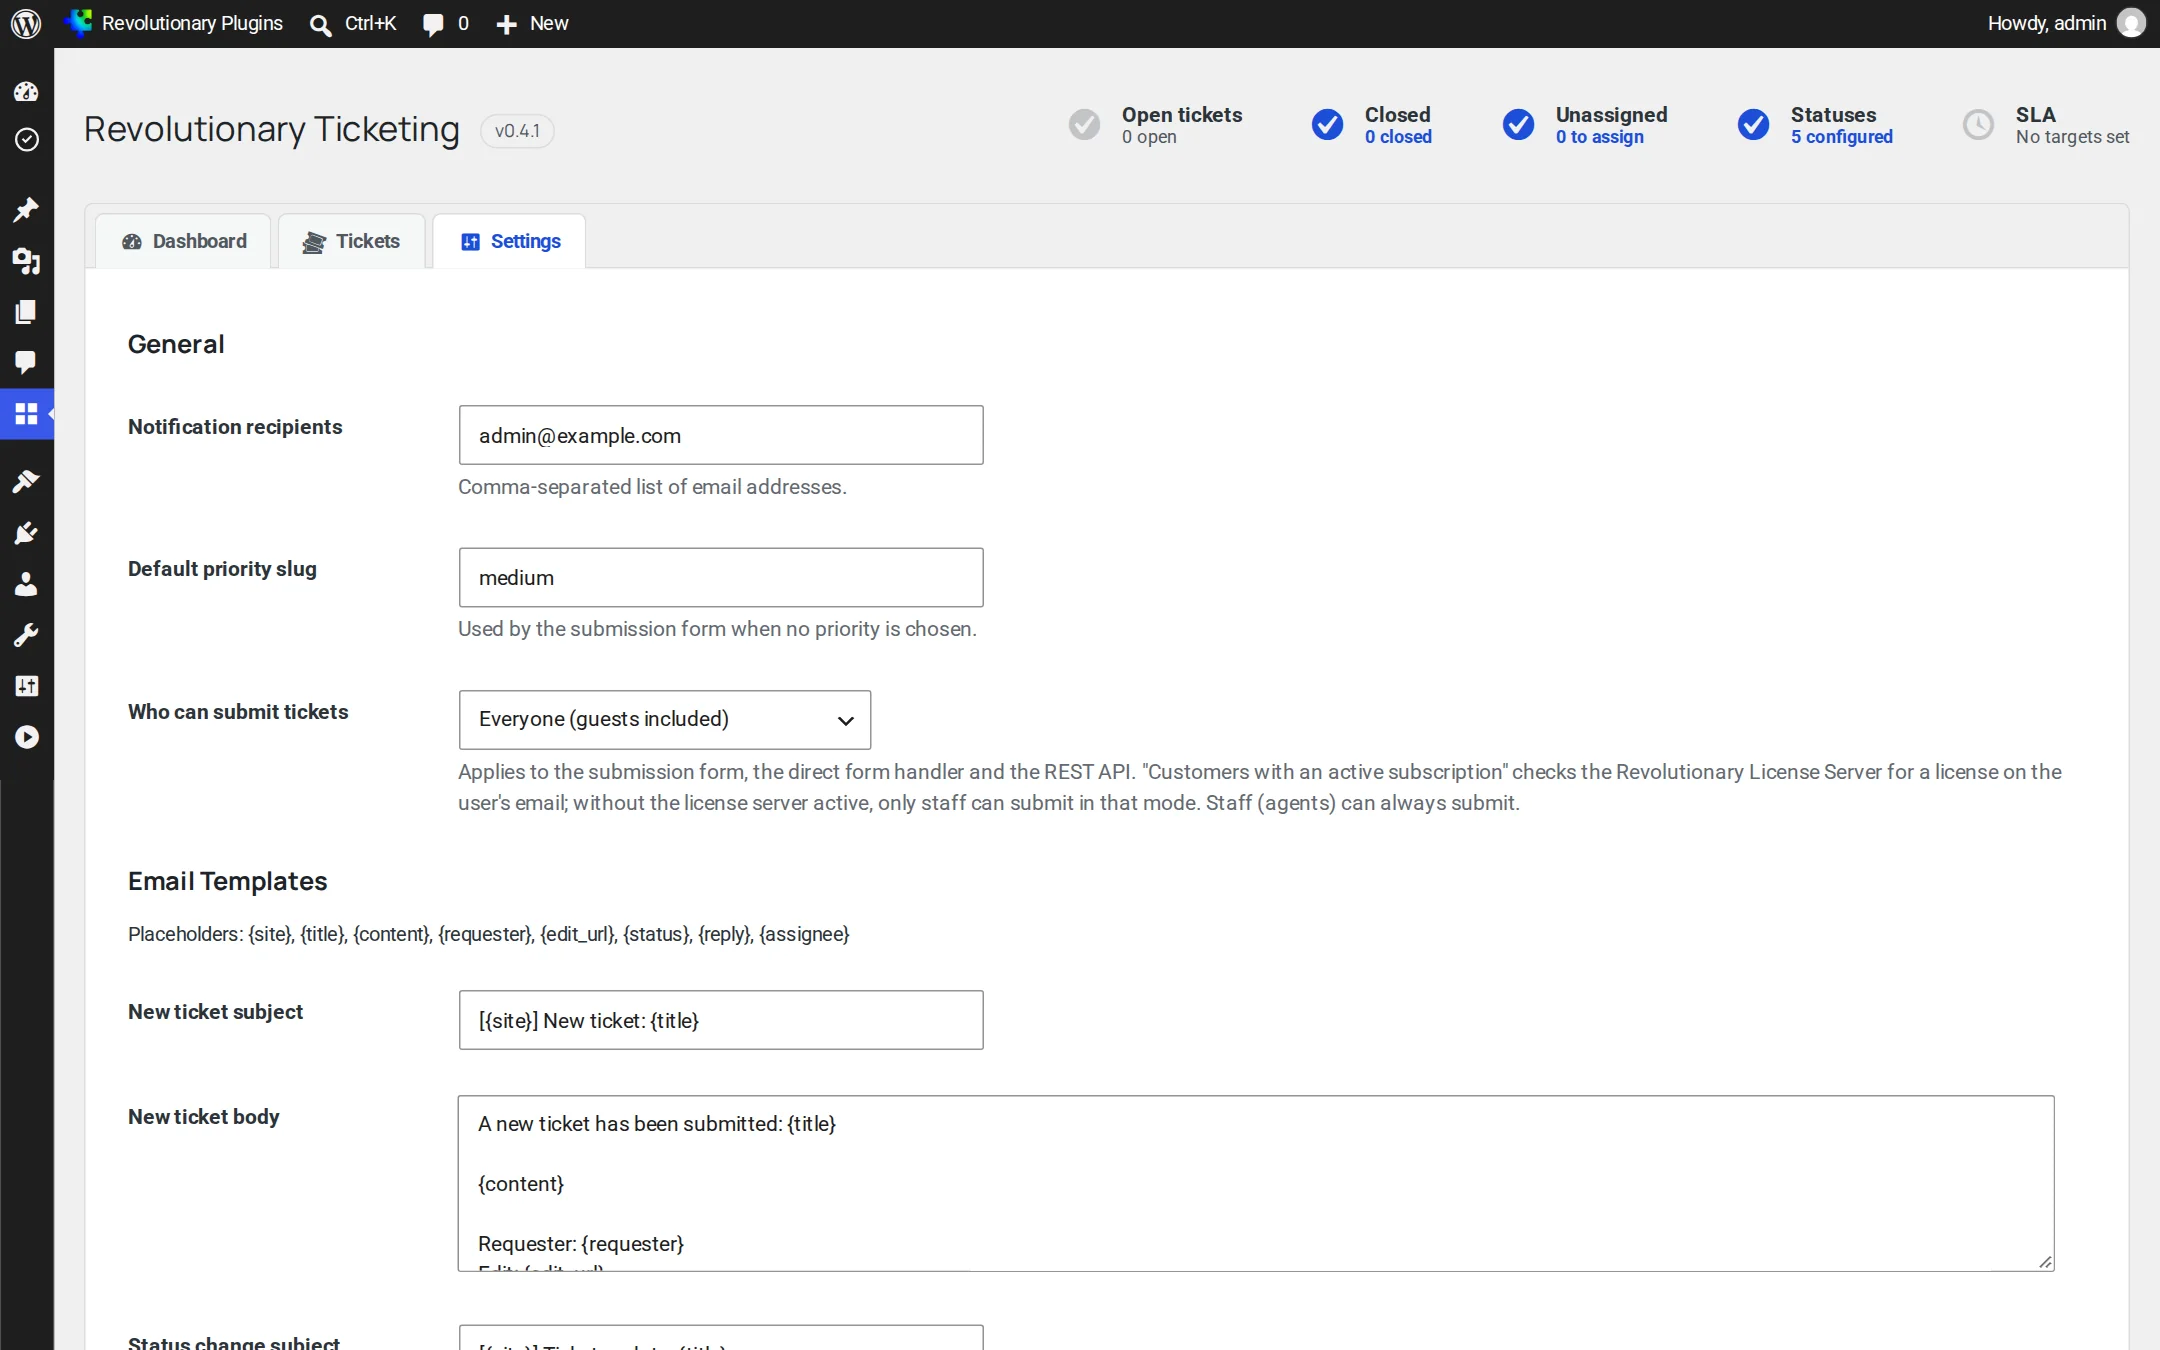
Ticketing, Settings has two sections: General and Email Templates.
General
| Setting | Default | What it does |
|---|---|---|
| Notification recipients | The site admin email | Staff addresses told about new tickets and customer replies |
| Default priority | Medium | Priority for tickets that do not set one |
| Who can submit | Everyone (guests included) | Everyone, Logged-in users, or Customers with an active subscription |
Email templates
Edit the subject and body of four emails: new ticket, status change, reply, and assignment. Placeholders include {site}, {title}, {content}, {requester}, {status}, {reply}, {assignee} and {edit_url}.
Developers
Custom and conditional fields
Add fields to the submit form with the revticket_custom_fields filter. Fields are declared in code so they live in version control.
Supported types are text, textarea, email, url, number, select and checkbox. Each field needs a key, a label and a type, and can be required. Values are saved on the ticket and returned in the REST API under custom_fields.
Show a field only when it applies
Give a field show_if with a field (priority or another custom field key) and the value or values that reveal it. A hidden field is never required and stores nothing, and without JavaScript every field stays visible.
Developers
SLA targets and business hours
Set targets with the revticket_sla_policies filter and working hours with revticket_business_hours. There is no settings screen for them yet.
- Targets are per priority, in minutes, for first response and for resolution. A target of 0 means that clock is not tracked.
- Deadlines are measured from when the ticket arrived, so raising a week-old ticket to Urgent shows it as already late.
- An hourly check flags breaches once per ticket and fires revticket_sla_breached.
- Business hours allow several windows per day (for a lunch break, say) and a list of holiday dates. All times use your site's time zone.
Developers
REST API and webhooks
Connect Ticketing to other systems.
Endpoints
| Method and path | Does |
|---|---|
GET /tickets | List tickets, with paging and filters for status, priority, tag, assignee and search |
POST /tickets | Open a ticket |
GET /tickets/{id} | Read one ticket |
PATCH /tickets/{id} | Update status, priority, assignee, tags and due date (agents) or custom fields |
GET /tickets/{id}/replies | Read the conversation |
POST /tickets/{id}/replies | Add a reply |
All paths are under /wp-json/revticket/v1/. Authenticate with a WordPress application password. Each user sees only the tickets they are allowed to see.
Webhooks
Register endpoints with the revticket_webhook_endpoints filter, each with a url, a secret and an optional list of events. Deliveries are queued in the background and signed in the X-RevTicket-Signature header as an HMAC SHA-256 of the raw body.
Retries
A failed delivery is retried after 1, 5 and 30 minutes. A 4xx response is not retried, except 408 and 429. After the last attempt, revticket_webhook_failed fires. Use the X-RevTicket-Delivery header to ignore duplicates.
Troubleshooting
Common questions
Check that the reply template is not empty and that your site can send mail. Revolutionary SMTP sends through a real mail service and logs every message.
Check Who can submit in Settings. If it is set to Customers with an active subscription and your site has no license server, only staff can submit.
No. Use wp-admin or the REST API.
Yes. Return an empty body from the revticket_notification_body filter for that event and audience, and only that message is skipped.
Compute the HMAC over the raw request body, not over re-encoded JSON, and compare with hash_equals.
Stuck on something?
Search the forums, open a ticket, or write to us. A real person reads every message.